If you’re passionate about capturing stunning images of the night sky, choosing the right telescope is crucial. A refracting telescope for astrophotography can be your best friend in revealing sharp, clear details of stars, planets, and distant galaxies.
But how do you know which one suits your needs? You’ll discover exactly what makes refracting telescopes ideal for astrophotography and how to pick the perfect model to turn your night sky photos into breathtaking works of art. Keep reading, and get ready to elevate your astrophotography game like never before.

Why Choose A Refracting Telescope
Choosing the right telescope for astrophotography can shape your experience and results. Refracting telescopes offer unique advantages that suit many amateur and professional astrophotographers. Their design and optical quality bring clarity and ease to capturing celestial images.
Benefits For Astrophotography
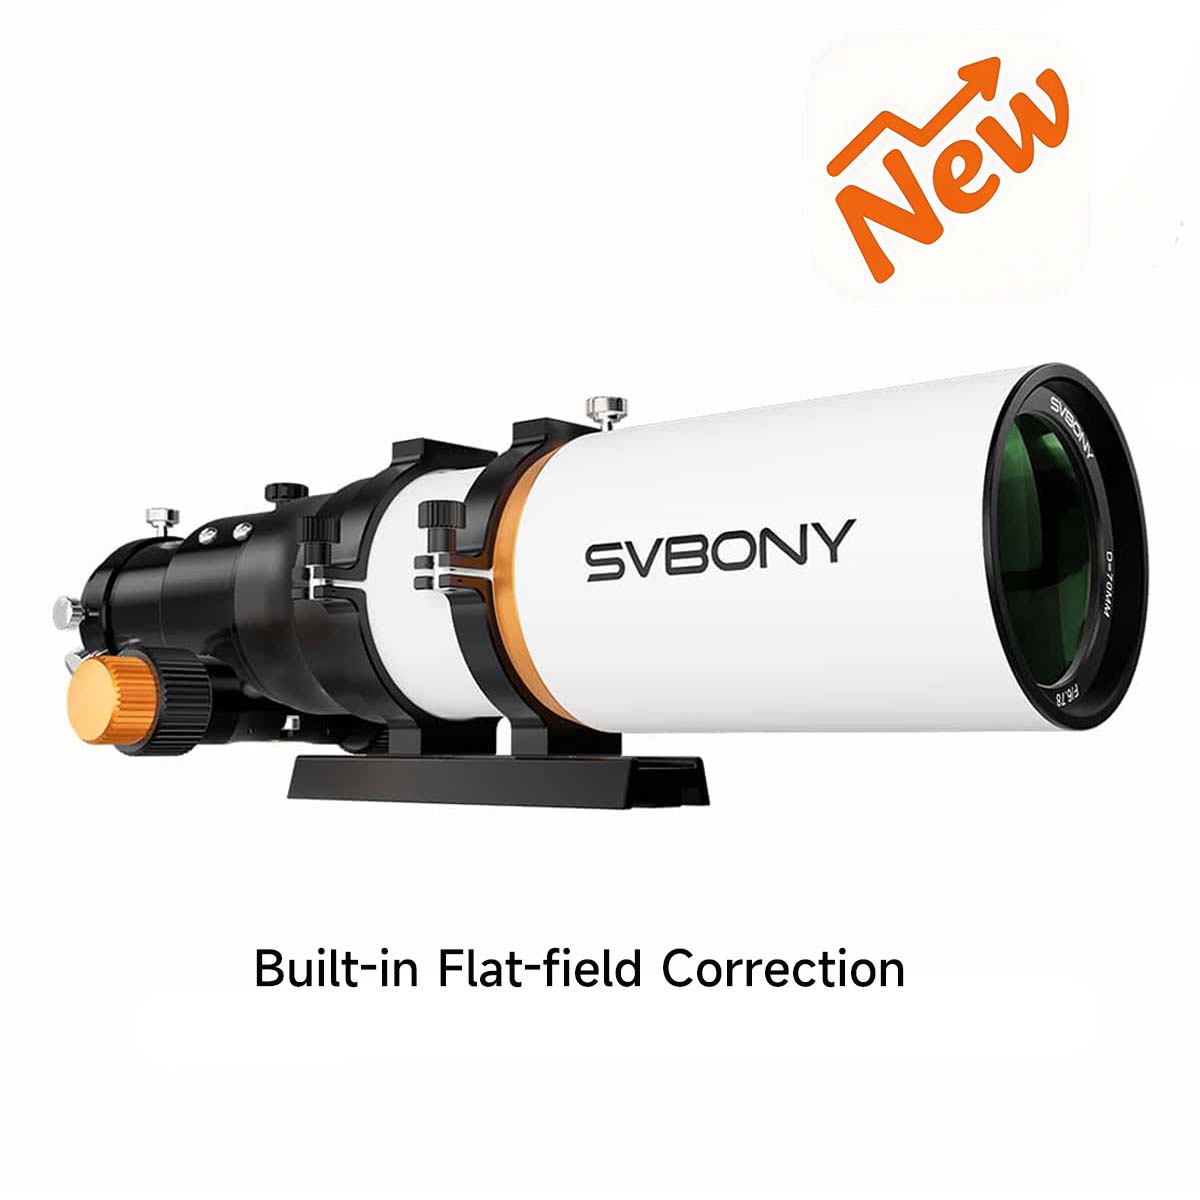
Refracting telescopes use lenses to gather and focus light. This method produces sharp, high-contrast images. The images show less distortion and fewer dark spots. These features help capture fine details in planets and stars.
Refractors are generally low-maintenance. They keep their alignment longer than other types. This stability means less time adjusting and more time shooting. The closed tube design protects lenses from dust and moisture. This protection maintains image quality over time.
Comparing With Reflecting Telescopes
Reflecting telescopes use mirrors instead of lenses. They can gather more light and offer larger apertures. Yet, they often require regular alignment, known as collimation. This process can be tricky for beginners.
Reflectors may show more image distortions due to mirror support structures. Refractors avoid this by using solid lenses. The simpler setup of refractors fits better with camera attachments. This ease helps capture clear photos without complex adjustments.
Key Features To Look For
Choosing the right refracting telescope for astrophotography matters a lot. The features you select affect image clarity and ease of use. Focus on key aspects that improve your photos and overall experience.
Aperture And Focal Length
Aperture is the diameter of the telescope’s main lens. Bigger apertures gather more light. This helps capture faint stars and planets clearly.
Focal length affects magnification and field of view. Longer focal lengths show more detail but narrow the view. Shorter focal lengths capture wider areas but with less detail.
Optical Quality And Coatings
High-quality lenses reduce blurriness and color distortions. Look for lenses made with good glass and precise shaping.
Coatings on lenses improve light transmission. They reduce reflections and glare. This results in sharper and brighter images.
Mount Compatibility
A stable mount keeps the telescope steady during long exposures. This prevents blurry photos.
Check if the telescope fits well with equatorial or motorized mounts. These mounts track stars as they move. This tracking is essential for clear astrophotography shots.
Setting Up Your Telescope
Setting up your refracting telescope for astrophotography is a key step. Proper setup ensures clear and sharp images. It helps you enjoy your night sky photography without frustration.
Focus on aligning optics, balancing the telescope, and attaching cameras. These steps improve your results and protect your equipment.
Aligning The Optics
Start by checking the telescope’s lenses and mirrors. Make sure they are clean and free of dust. Use a collimation tool if needed to align the lenses precisely. Proper alignment avoids blurry or distorted images. Look through the eyepiece at a distant object during the day. Adjust the focus until the image is sharp. This step prepares your telescope for clear astrophotography shots.
Balancing And Stability
Balance your telescope on the mount. An unbalanced setup can cause shaky images. Adjust the telescope’s position until it stays steady without support. Use counterweights if your mount has them. Secure all knobs and locks tightly to avoid movement. Place your tripod on a flat, stable surface. Stability is crucial for long exposure photos of stars and planets.
Attaching Cameras And Accessories
Choose the right adapter to connect your camera to the telescope. Attach the camera firmly to avoid vibrations. Use a T-ring and T-adapter for DSLR cameras. Connect any additional accessories, like a remote shutter or guide scope. These tools help control exposure and focus during photography. Double-check all connections before starting your photo session.
Capturing Stunning Astrophotos
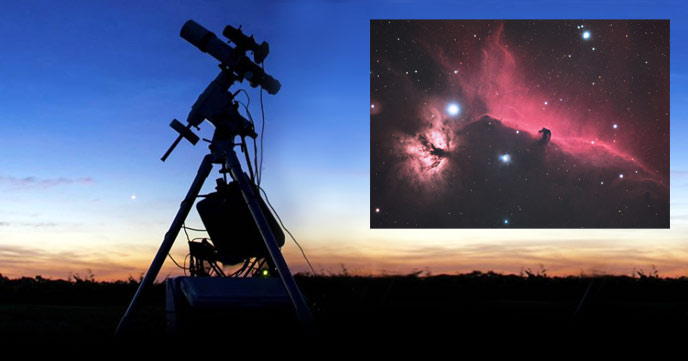
Capturing stunning astrophotos with a refracting telescope is a rewarding experience. It allows you to see the beauty of the night sky in great detail. With the right approach, your images can show stars, planets, and deep space objects clearly. Patience and practice help you improve your shots over time.
Using a refracting telescope reduces common image problems. These telescopes provide sharp, bright views with less distortion. This makes them ideal for astrophotography, especially for beginners. Understanding key steps will help you get the best results.
Choosing Targets
Select bright and easy-to-capture celestial objects first. The moon, planets like Jupiter and Saturn, and bright star clusters are good options. These targets require less exposure time. They also appear larger through your telescope.
Move to dimmer objects like nebulae or galaxies as you gain experience. Check star charts or apps to find objects visible in your area. Clear, dark skies improve your chances of capturing fine details.
Camera Settings For Night Sky
Set your camera to manual mode for full control. Use a high ISO, but not too high to avoid noise. Start with ISO 800 or 1600 and adjust as needed. Use a wide aperture to let in more light.
Set exposure time carefully to avoid star trails. Start with 10 to 30 seconds for most targets. Use a remote shutter or timer to prevent shake. Take multiple shots for stacking later to improve image quality.
Focusing Techniques
Focus is critical in astrophotography. Use your telescope’s focuser and a bright star to achieve sharp focus. Zoom in on the star using your camera’s live view screen.
Adjust focus slowly until the star appears as a small dot. Avoid fuzzy or bloated stars. Lock the focus carefully to keep it steady during shooting. Check focus often, especially if temperature changes.
Post-processing Tips
Post-processing plays a key role in astrophotography with a refracting telescope. Raw images often need adjustments to reveal their full beauty. Careful editing brings out faint stars, colors, and details. It also reduces noise and unwanted artifacts. Below are some useful tips to improve your astrophotos after capturing them.
Stacking Images
Stacking means combining multiple photos of the same object. This process increases brightness and detail. It reduces random noise that appears in single shots. Use software like DeepSkyStacker or Sequator for stacking. Align images carefully before stacking. The result is a clearer, sharper image with better contrast.
Enhancing Details And Colors
Adjust brightness and contrast to highlight faint stars and structures. Use curves or levels tools in editing software. Increase saturation slightly to show natural colors. Avoid making colors look fake or too bright. Sharpen fine details gently to avoid adding noise. Small changes improve the image without losing quality.
Reducing Noise And Artifacts
Noise comes from long exposures and high ISO settings. Use noise reduction tools in your editing program. Apply noise reduction selectively to keep details sharp. Remove hot pixels and other sensor artifacts manually if needed. Avoid over-smoothing, which can blur star edges. Clean images look more professional and pleasing.
Common Challenges And Solutions
Using a refracting telescope for astrophotography brings unique challenges. Many beginners face issues that can affect image quality. Understanding these problems helps you find practical solutions. This section covers common challenges and ways to fix them. Follow these tips to improve your astrophotography results.
Dealing With Chromatic Aberration
Chromatic aberration causes color fringes around bright stars. It happens because lenses bend different colors differently. This blur lowers image sharpness and detail. Using an apochromatic refractor reduces this problem. These lenses use special glass to focus colors better. You can also fix minor color fringing with software after shooting. Using a narrowband filter helps by letting only one color through. This reduces unwanted color blur in your photos.
Avoiding Vibration And Drift
Vibration blurs your long exposure images. It comes from wind, shaky mounts, or touching the telescope. Place your telescope on a sturdy tripod or pier. Use a remote shutter release or timer to avoid camera shake. Drift happens when the mount does not track stars well. Align your mount carefully with the North Star. Autoguiders can also keep your telescope on target during long shots. These steps keep stars sharp and clear in photos.
Managing Light Pollution
Light pollution washes out faint stars and nebulae. It makes astrophotography difficult in cities or bright areas. Use light pollution filters to block unwanted street light. Travel to dark sky sites for the best results. Shield your telescope from nearby lights with a hood or cover. Post-processing can also reduce light pollution effects. These methods help capture more detail in your night sky images.
Recommended Refracting Telescopes
Choosing the right refracting telescope is key for clear astrophotography. Different budgets need different options. This guide helps find the best refractor for your needs. From simple models to advanced setups, here are top picks for every level.
Budget-friendly Options
Affordable refracting telescopes offer good image quality. They work well for beginners and casual stargazers. Models like the Orion Observer 80ST provide sharp views of the moon and planets. These telescopes are lightweight and easy to carry. Perfect for those starting astrophotography without a big investment.
Mid-range Picks
Mid-range refractors balance quality and price. They have better lenses for clearer, brighter images. The Sky-Watcher EvoStar 80ED is a popular choice. It reduces color distortion and improves sharpness. These telescopes suit hobbyists ready to improve their astrophotography skills.
High-end Models
High-end refracting telescopes deliver excellent image clarity and detail. Brands like Takahashi and Tele Vue offer premium optics. The Takahashi FSQ-106ED is favored for deep-sky imaging. These models provide superb contrast and color accuracy. Ideal for serious astrophotographers seeking top performance.
Frequently Asked Questions
What Is A Refracting Telescope For Astrophotography?
A refracting telescope uses lenses to gather light and focus images. It’s ideal for capturing sharp, high-contrast astrophotography of planets and the moon.
How Does A Refracting Telescope Differ From A Reflecting One?
Refracting telescopes use lenses, while reflecting telescopes use mirrors. Refractors offer clearer images with less maintenance, making them popular for astrophotography.
Which Refracting Telescope Features Are Best For Astrophotography?
Look for apochromatic lenses, good focal length, and sturdy mounts. These features reduce chromatic aberration and improve image sharpness for astrophotography.
Can Beginners Use Refracting Telescopes For Astrophotography?
Yes, refracting telescopes are user-friendly and require less alignment. They are excellent for beginners starting astrophotography with clear and bright images.
Conclusion
A refracting telescope offers clear, sharp images for astrophotography. Its simple design reduces image blur and color issues. Beginners and hobbyists find it easy to use and maintain. Capturing stars and planets becomes more enjoyable with this tool. Choosing the right telescope improves your night sky photos.
Practice and patience help you get better results. Enjoy the wonders of space through your own lens.
