
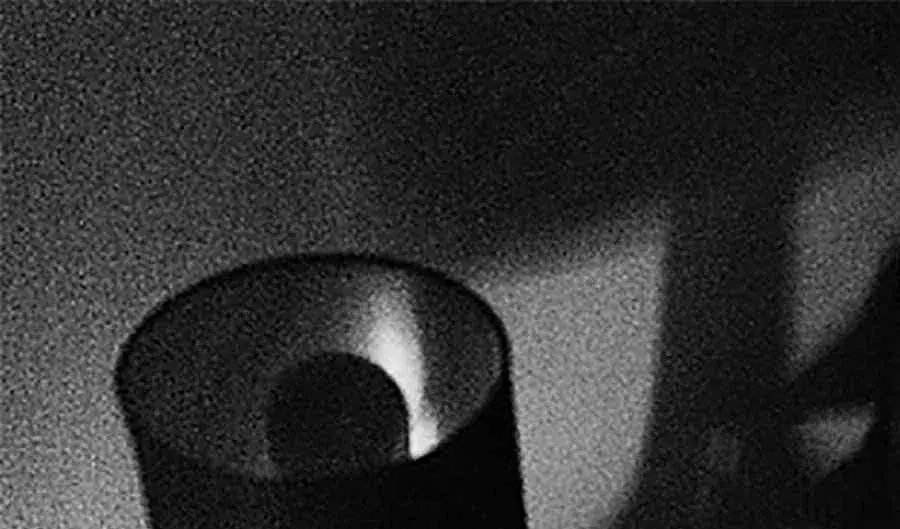
High ISO settings are the most common reason why your camera photos are grainy, especially when you’re shooting in low-light environments. This digital noise appears as speckled or multicolored dots across your image, which happens when the sensor tries to amplify light signals that are too weak. You can typically identify this by checking the EXIF data of your image file to see if the ISO value is set above 800 or 1600.
Why your camera photos look grainy
| Cause | How common | How to confirm it | Fix it yourself? |
|---|---|---|---|
| High ISO setting | Very common | Check photo metadata | Yes |
| Under-exposure | Common | Review the histogram | Yes |
| Small sensor size | Regular | Check camera specifications | No |
| Slow shutter speed | Occasional | Look for motion blur | Yes |
| High temperature | Rare | Check environment heat | No |
| Software processing | Rare | View RAW file | Yes |
High ISO settings and image noise
When you increase the ISO, you’re telling the camera sensor to become more sensitive to light. While this helps you take photos in dark rooms or at night without a flash, it also amplifies the electrical background noise of the sensor. The result is that “grainy” look, which is actually digital interference rather than film grain.
To confirm this is the issue, look at the settings used for the shot. Most cameras store this in the file’s metadata, often labeled as “ISO” followed by a number. If that number is high—usually above 1600 on many consumer cameras—your camera is struggling to process the light levels.
To fix this, try to lower your ISO to the lowest possible setting, such as 100 or 200, when you have enough light. If you’re in a dark area, use a tripod to hold the camera steady while you use a longer shutter speed instead of raising the ISO.
This allows the sensor to collect more light naturally without needing to amplify the signal, resulting in a much cleaner image. This assumes you have a stable surface; if you’re shooting handheld, you’ll need to balance the ISO against the slowest shutter speed you can hold steady.
The impact of under-exposure
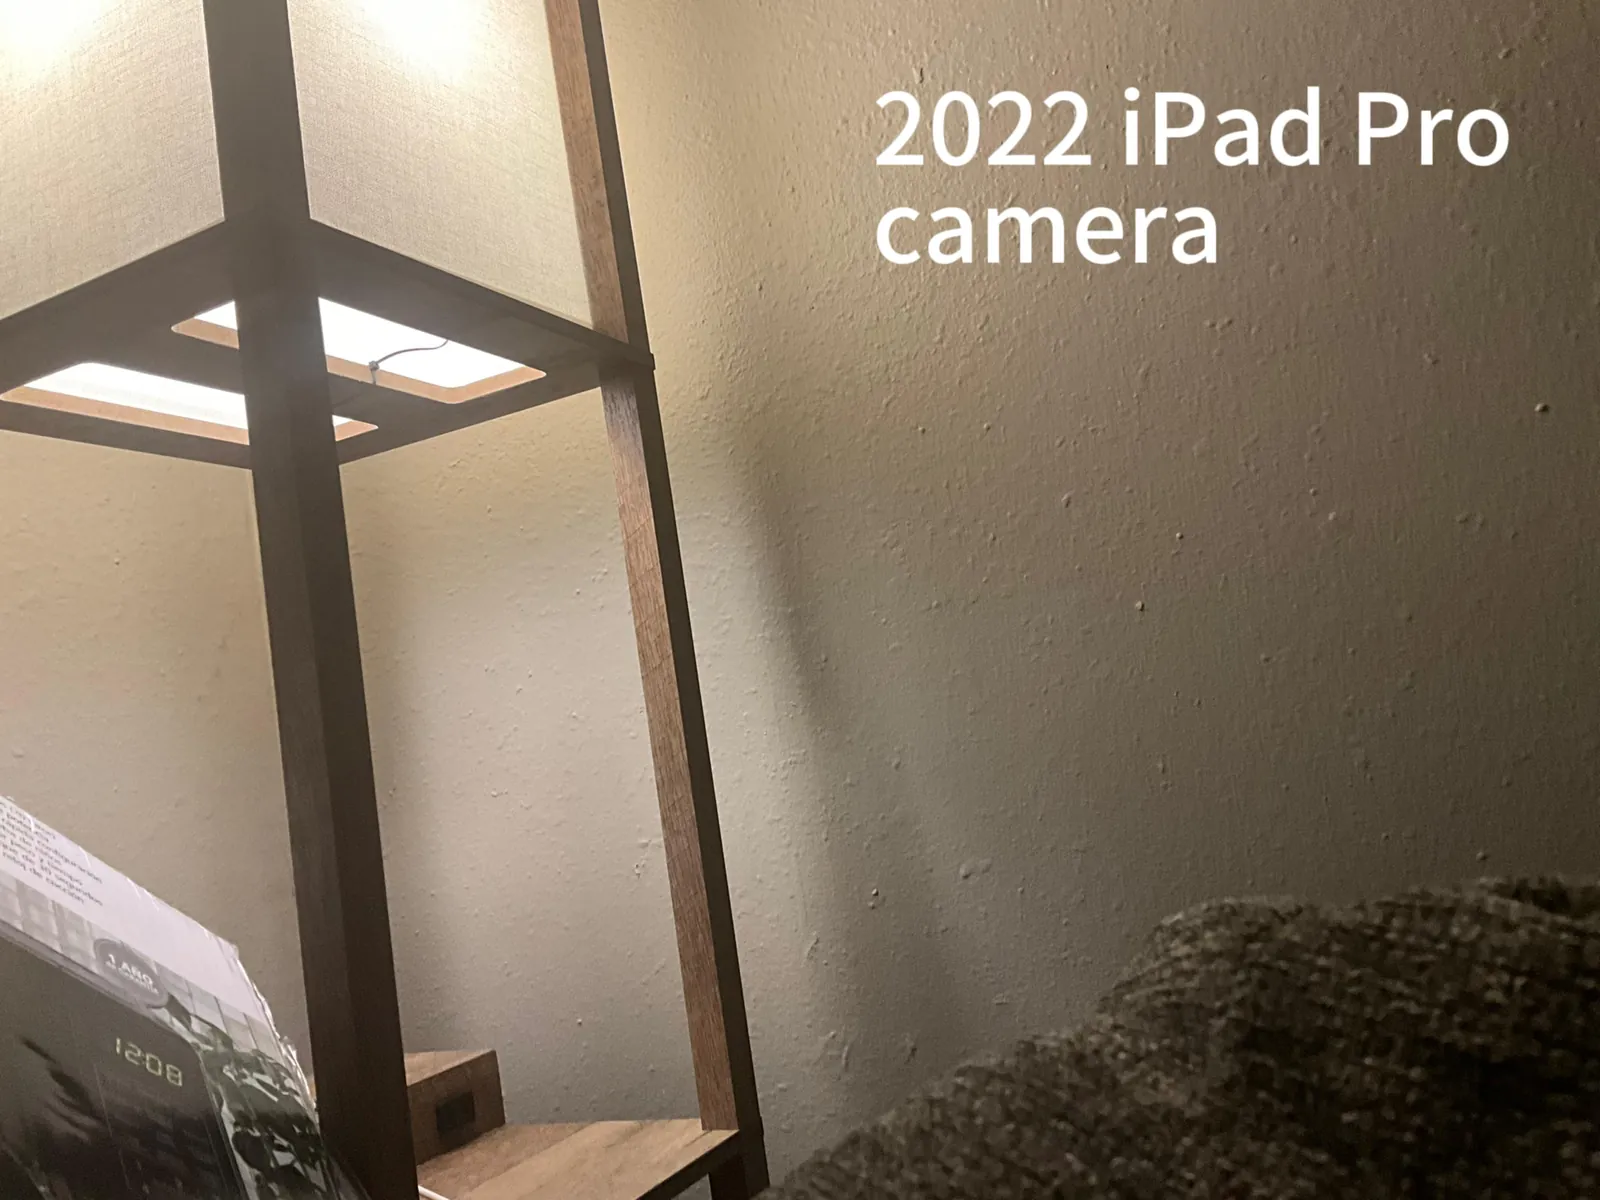
You might notice grain even when your ISO is relatively low if the image is severely under-exposed. When you try to brighten a dark photo using editing software, you’re essentially stretching the data in the shadows. This process pulls out the hidden digital noise, making it visible as ugly, blotchy grain.
You can tell if this is the cause by looking at your camera’s histogram. If the graph is bunched up entirely on the left side, your image lacks sufficient light data in the mid-tones and highlights. To check if this is the culprit, compare the original file to a version where you have significantly increased the brightness in post-processing.
The best way to avoid this is to ensure your subject is well-lit before you press the shutter. Use exposure compensation or manual mode to make the image brighter while you’re still in the field.
The National Institute of Standards and Technology provides technical guidance on how lighting conditions and sensor capabilities influence the final quality of digital captures. By getting the exposure right in the camera, you avoid the need to force the software to invent data that was never there.
Small sensor limitations
Cameras with smaller sensors, such as those found in smartphones or compact point-and-shoot models, produce more grain than full-frame cameras. Because the individual pixels on a small sensor are tiny, they can’t capture as many photons as larger pixels. This physical limitation means the camera has to work harder to generate a signal, leading to more noise even in moderate lighting.
You can verify this by checking your camera model’s sensor size in the user manual or the manufacturer’s website. If you’re using a device with a sensor smaller than one inch, grain is an inherent characteristic of the hardware.
This is a hard limit for your equipment, and it means you should prioritize bright, natural light whenever possible. If you’re shooting in a dimly lit room, no amount of software adjustment will fully remove that grain without losing detail. This assumes you’re looking for professional-grade clarity; if you’re just taking casual photos, using a dedicated lighting accessory or moving closer to a window will yield better results than relying on the camera’s internal processing.
Less common noise factors
- Long exposure heat: Sensors warm up during long exposures, which introduces heat-related noise that looks like hot, glowing pixels.
- Aggressive noise reduction: Some cameras apply heavy internal processing that can smear textures, making them look like soft grain or wax.
- Dirty lenses: Smudges on your lens can scatter light in ways that look like digital noise, especially in backlit scenes.
- Damaged hardware: Physical damage to the sensor can cause permanent patterns or noise, which requires a professional technician to evaluate.
What a fix typically involves

Fixing grainy photos usually involves changing your shooting technique rather than repairing the camera itself. Most of the time, you need to add light to the scene using a flash, a constant LED light, or by moving your subject closer to a light source.
This costs only the effort of setting up the light. If you need a tripod to allow for slower shutter speeds, the cost is comparable to a basic kitchen accessory, depending on the weight and stability you require.
If your sensor is damaged or the internal hardware is faulty, you must contact the manufacturer’s support center for a formal quote. This is the only time you should seek a professional, as internal camera components are sensitive and require specialized tools. You can find the contact information for repairs on the back of your camera or in the original documentation provided in the box.
Frequently asked questions
Can I remove grain from my photos later?
Yes, you can reduce the appearance of grain using editing software, but it often sacrifices fine detail. Most photo editors have a “noise reduction” slider that softens the image to hide the grain. This works best when the grain is light; if the image is heavily noisy, the photo will look blurry or plastic.
Is it safe to use high ISO on my camera?
Yes, it’s perfectly safe for your camera to use high ISO settings, as it’s just an electronic gain adjustment. You won’t break your camera by shooting at high ISO values. The only thing you risk is a lower-quality image, not any physical damage to the internal components or the sensor.
How long should my shutter speed be to avoid grain?
The shutter speed depends on your focal length and whether you have image stabilization enabled. A general rule is to keep your shutter speed at least 1/focal length of the lens to avoid blur. If you’re using a tripod, you can use much longer speeds, which allows you to keep the ISO at 100.
Why are my photos grainy in daylight?
Your photos are likely grainy in daylight because your camera is set to a high ISO or the image is severely under-exposed. Check your camera settings to ensure the ISO is set to 100 or “Auto.” If the ISO is low and the photo is still grainy, check your lens for dirt or smudges that distort the light.
Does the camera brand matter for noise?
Yes, the camera brand and model determine how well the sensor handles noise at high settings. Larger sensors generally handle low light better than smaller ones. You can check your specific model’s performance on the manufacturer’s website to see the recommended ISO range for the best image quality.
What happens if I keep my ISO on auto?
If you keep your ISO on auto, the camera will automatically choose the highest value it thinks is necessary to get a bright photo. This often leads to grainy images in low-light situations. You can prevent this by setting a maximum ISO limit in your camera’s menu, which stops the camera from pushing the sensitivity too high.
Conclusion
Getting clear shots doesn’t have to be a struggle. Once you’re comfortable adjusting your settings, try experimenting with a tripod during your next sunset shoot. You’ll find that keeping your camera steady lets you use lower light sensitivity, which keeps your images looking crisp and clean every single time you click.