You can fix a camera that won’t connect to a computer by swapping the USB cable for a known data-transfer cord and ensuring the device is set to the correct mode. Most connection failures occur because the cable provided is only for charging, or the camera’s internal settings aren’t configured for data exchange. If you can’t establish a link after these simple changes, the issue likely resides in the computer’s port or driver software.
Diagnosing common connection failures
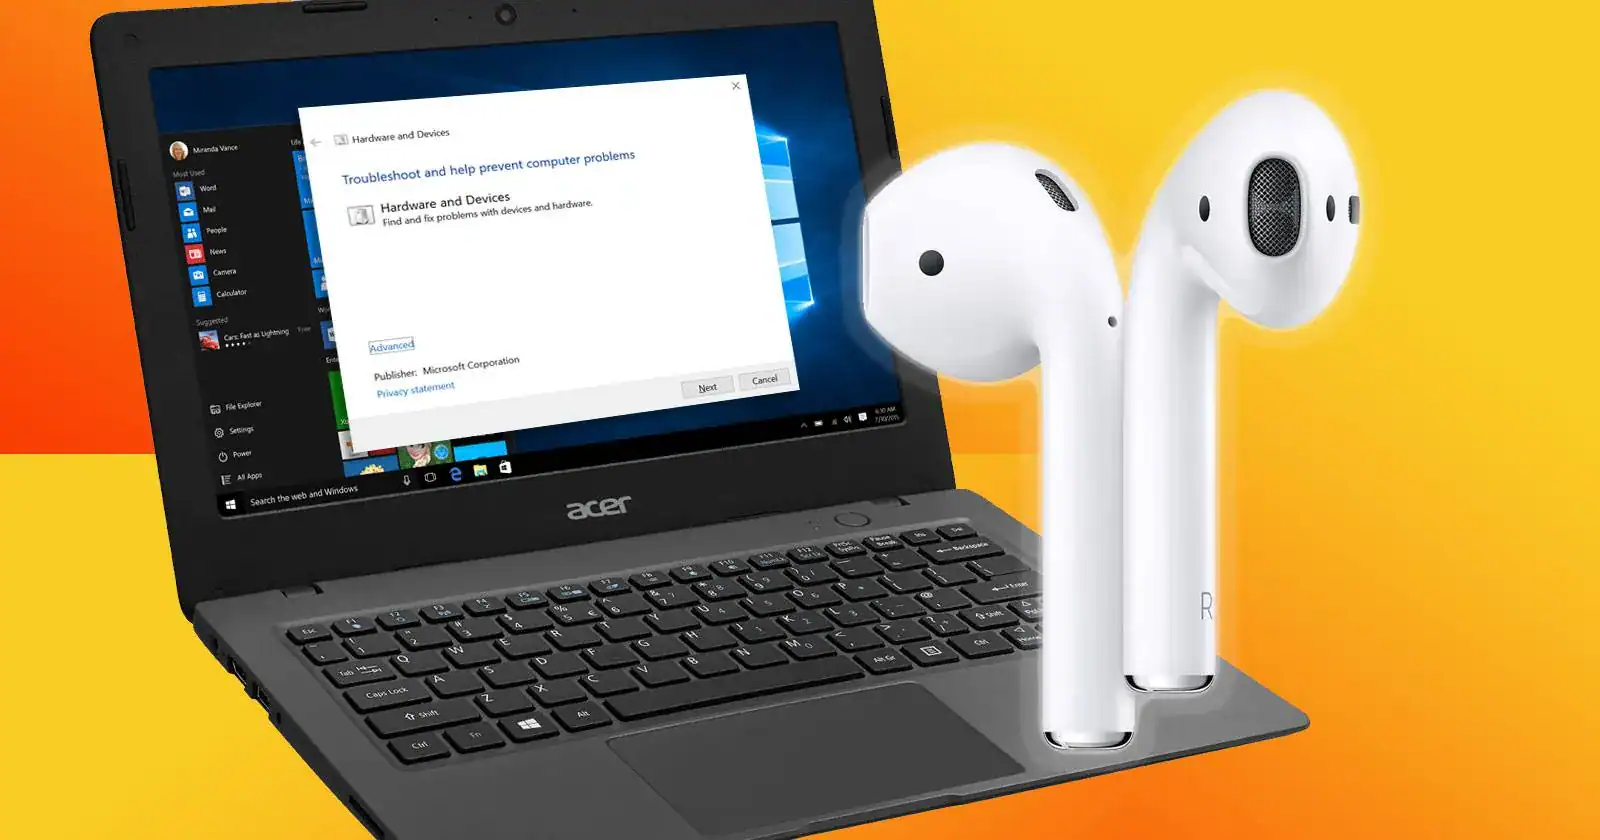
The most common reason for a failed link is the use of a charging-only USB cable that lacks the internal wires for data transfer. Many modern devices ship with basic power cables, which look identical to high-speed data cables but can’t send images to your workstation. You can verify your cable by testing it with a different device, such as a smartphone, to see if the computer recognizes it as a storage drive.
A second cause involves the camera’s USB mode setting. Many professional cameras require you to manually select “Mass Storage” or “PTP” (Picture Transfer Protocol) in the menu before they will talk to a PC. If the camera stays in “Auto” or “Charge” mode, the computer will ignore it entirely.
Lastly, a corrupted driver or a blocked USB port can prevent a successful handshake. If you have tried three different ports and the computer remains silent, consult the official support documentation from your camera manufacturer to see if your specific model requires a proprietary software bridge.
Swap your cable and connection port
The fastest way to troubleshoot a broken connection is to eliminate the hardware variables. Start by unplugging the camera and removing any USB hubs or extenders, as these often fail to provide enough power or data bandwidth for high-resolution cameras. Connect the camera directly to a port on the back of your computer tower if you’re using a desktop, as these ports are integrated directly into the motherboard I/O panel.
If the computer still does not “ding” or show a new drive icon, swap your USB cable for a different one that you know works with other data devices. If you’re using a USB-C connection, ensure the cable is rated for data transfer, not just power delivery.
If the camera shows a charging icon but no data transfer menu, the cable is likely the culprit. This fix is for anyone using standard USB-A or USB-C connections; if you’re using specialized FireWire or Thunderbolt cables, check your camera manual for specific compatibility requirements before buying replacements.
Adjust internal camera transfer settings
Once you’re certain the cable is a data-capable unit, look inside your camera’s system menu for connectivity options. Most cameras have a “USB Connection” setting that defaults to “Auto.” Change this to “Mass Storage” if you want the camera to appear like a standard flash drive, or “PTP/MTP” if you’re using photo-editing software like Adobe Lightroom.
This setting change is necessary because it tells the camera to act as a peripheral rather than a battery-charging device. If your camera lacks these menu options, it might require a specific software driver from the manufacturer to be installed on your computer first. This is common for professional-grade mirrorless and DSLR bodies.
If you’re unsure of your model’s requirement, check the manufacturer’s website for “Connectivity Software.” If you still can’t see the camera after changing the mode, the camera’s internal USB port may be damaged, which is a hardware failure that requires professional repair.
Update drivers and system software
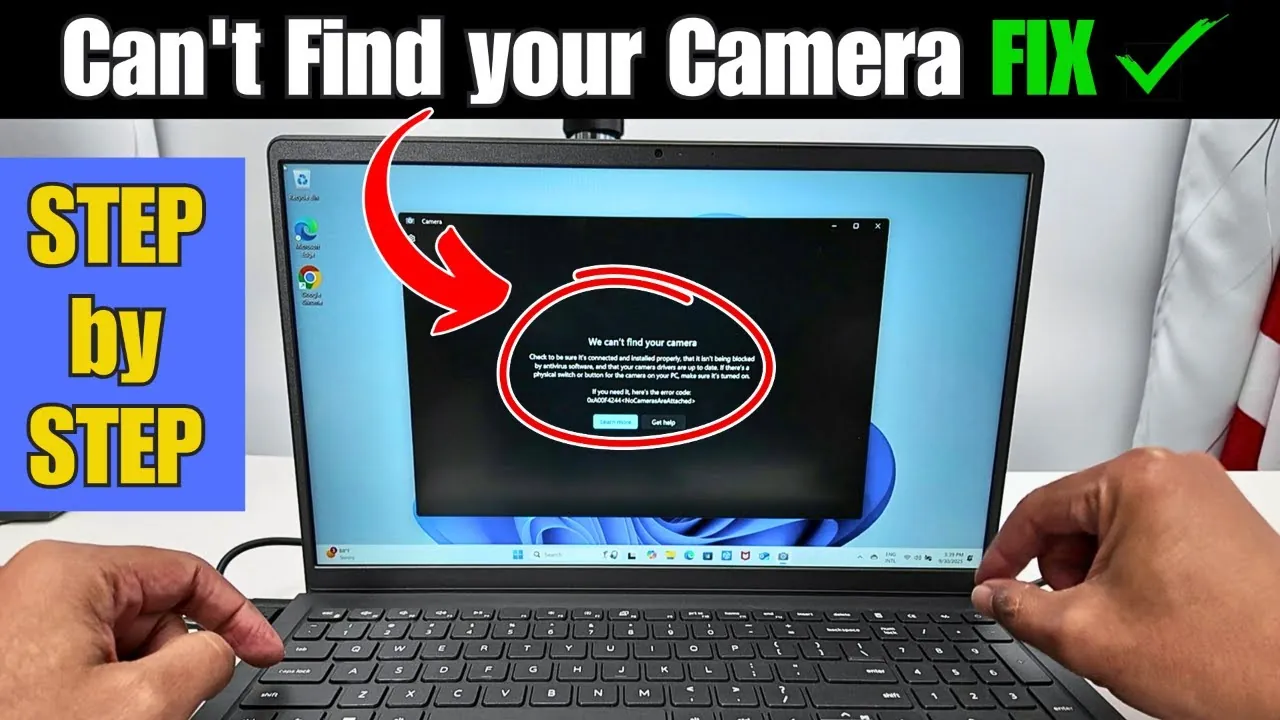
If the physical connection is sound, the issue might be a software conflict on your computer. Your operating system needs a specific driver to interpret the signal from your camera. Go to the Device Manager on Windows or System Report on macOS to see if the camera is listed under “Imaging Devices” or “Universal Serial Bus controllers.” If you see a yellow exclamation mark, right-click and select “Update Driver.”
This step is for users who have confirmed their hardware is functional but still face a software block. If the driver update fails, try uninstalling the device entirely and then restarting your computer with the camera plugged in. This forces the system to re-scan and assign a fresh driver.
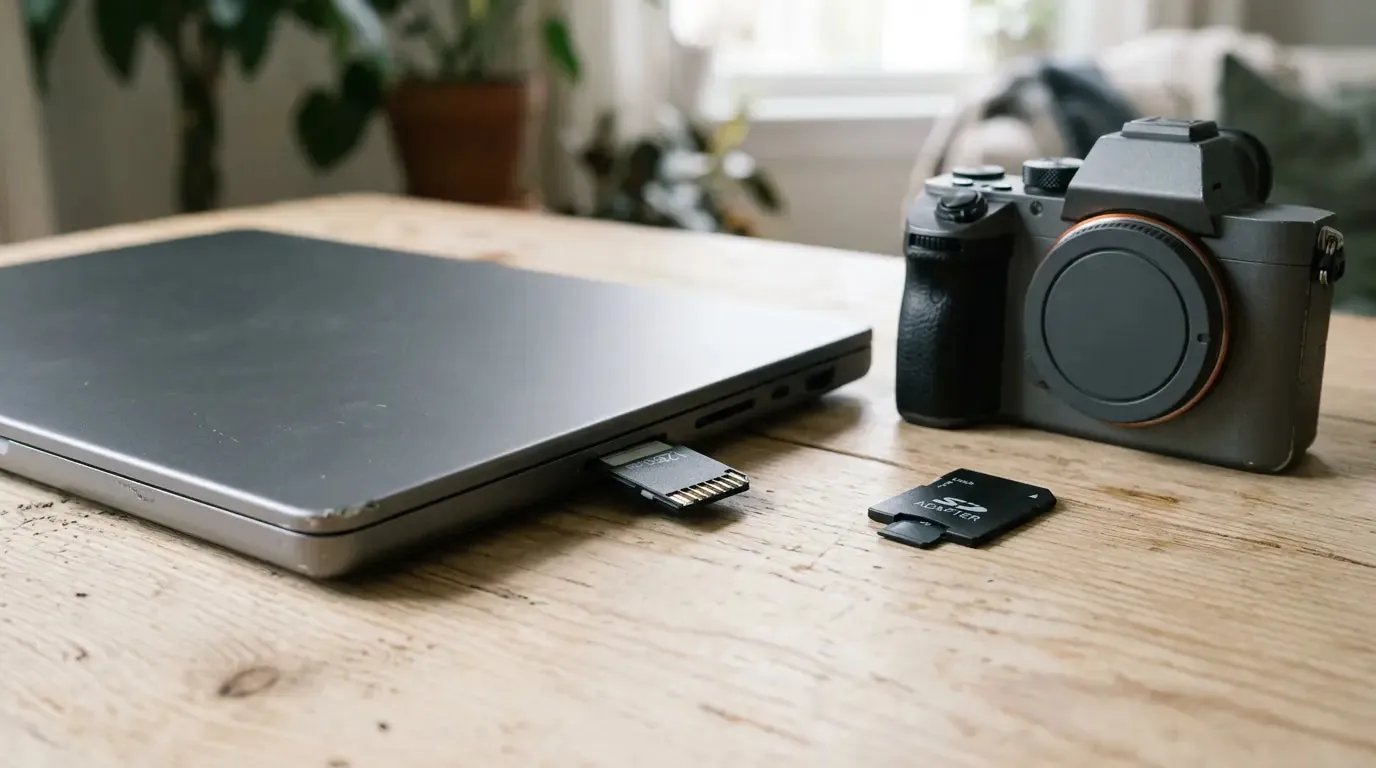
Be aware that some older cameras aren’t compatible with modern operating systems like Windows 11 or macOS Sonoma. If your gear is significantly aged, you may need to use a dedicated memory card reader instead of a direct cable connection.
Mistakes that cause connection loss
Using a “charge-only” cable prevents the computer from seeing the device, leading many to believe the camera port is broken. These cables lack the necessary data pins to establish a handshake between devices.
Connecting the camera through a passive USB hub often drops the signal. These hubs can’t provide the consistent voltage required for stable data transfer, causing the connection to time out during heavy file imports.
Leaving the camera in “Play” mode rather than “Shooting” mode can sometimes disable the USB port on specific older models. The camera’s internal logic prioritizes the playback interface, which often locks out the data bus entirely.
Ignoring firmware updates on the camera itself can lead to compatibility issues with newer computer operating systems. Older firmware may not recognize modern USB protocols, causing the computer to reject the device as an unrecognized peripheral.
Maintaining a stable camera connection
Keeping your camera connected requires consistent hardware choices and proper software habits. The following table helps you compare common bad habits with the correct approach to ensure your data transfers without interruption.
| If you’re doing this | Do this instead | Why |
|---|---|---|
| Using front-panel USB ports | Use rear motherboard ports | Front ports often lack full power. |
| Leaving the camera on | Follow manufacturer instructions | Some cameras require specific power states for USB initialization. |
| Using long, cheap cables | Use short, branded cables | Longer cables lose signal integrity. |
| Plugging into a USB hub | Connect directly to the PC | Hubs introduce unnecessary connection points. |
Related guides
Frequently asked questions
Can I connect my camera with a phone charger cable?
No, you can’t use most phone charging cables because they’re designed for power delivery and often lack the data transfer pins required to move files. While some cables do both, many cheap ones included with devices are power-only. If your camera isn’t recognized, try a cable known to transfer data, such as the one that came in the original camera box.
Why does my computer say the device is unrecognized?
This error usually means the computer detects a physical link but can’t understand the signal, which is often caused by a corrupt driver or a mismatched USB mode. Try changing the “USB Connection” setting in your camera’s menu to “Mass Storage.” If that fails, your computer’s USB drivers may need a manual update through your system’s device manager or the manufacturer’s official support page.
How long does a camera file transfer usually take?
A transfer typically takes 1 to 5 minutes for a standard 16GB memory card, though this depends entirely on the speed of your USB port and the card’s write speed. USB 3.0 ports and cables will be significantly faster than older USB 2.0 connections. If your transfer speed is slower than 10MB/s, check if you’re accidentally using an older USB 2.0 port.
Is it safe to disconnect the camera while transferring?
No, you should never disconnect the camera while files are transferring, as this can corrupt your images and damage the file system on your memory card. Always use the “Eject” or “Safely Remove Hardware” option on your computer before pulling the plug. If the computer is frozen, wait until the camera’s access light stops blinking before you disconnect the cable to prevent data loss.
What happens if my camera port is loose?
If the port feels loose or wiggles when you plug in a cable, you likely have a damaged internal connector that requires professional repair. This is a common issue caused by tripping over the cable or pulling it out at an angle. Don’t try to force the cable into place, as this can cause intermittent connection drops or permanent damage to the camera’s USB port.
Conclusion
If these adjustments don’t get your photos moving, try plugging the camera into a different USB port or another computer entirely. Sometimes a simple hardware conflict is the real culprit. Once you’ve successfully imported your files, don’t forget to keep your camera’s firmware updated so you’ll avoid these technical headaches later on.