
You can fix a camera that produces blurry videos by cleaning the lens, adjusting the focus settings, or checking your shutter speed. The most common cause is a thin layer of oil or dust on the glass surface that scatters light. If your footage looks soft or hazy, start by inspecting the front element for smudges before you adjust any electronic settings.
Why your camera produces blurry videos
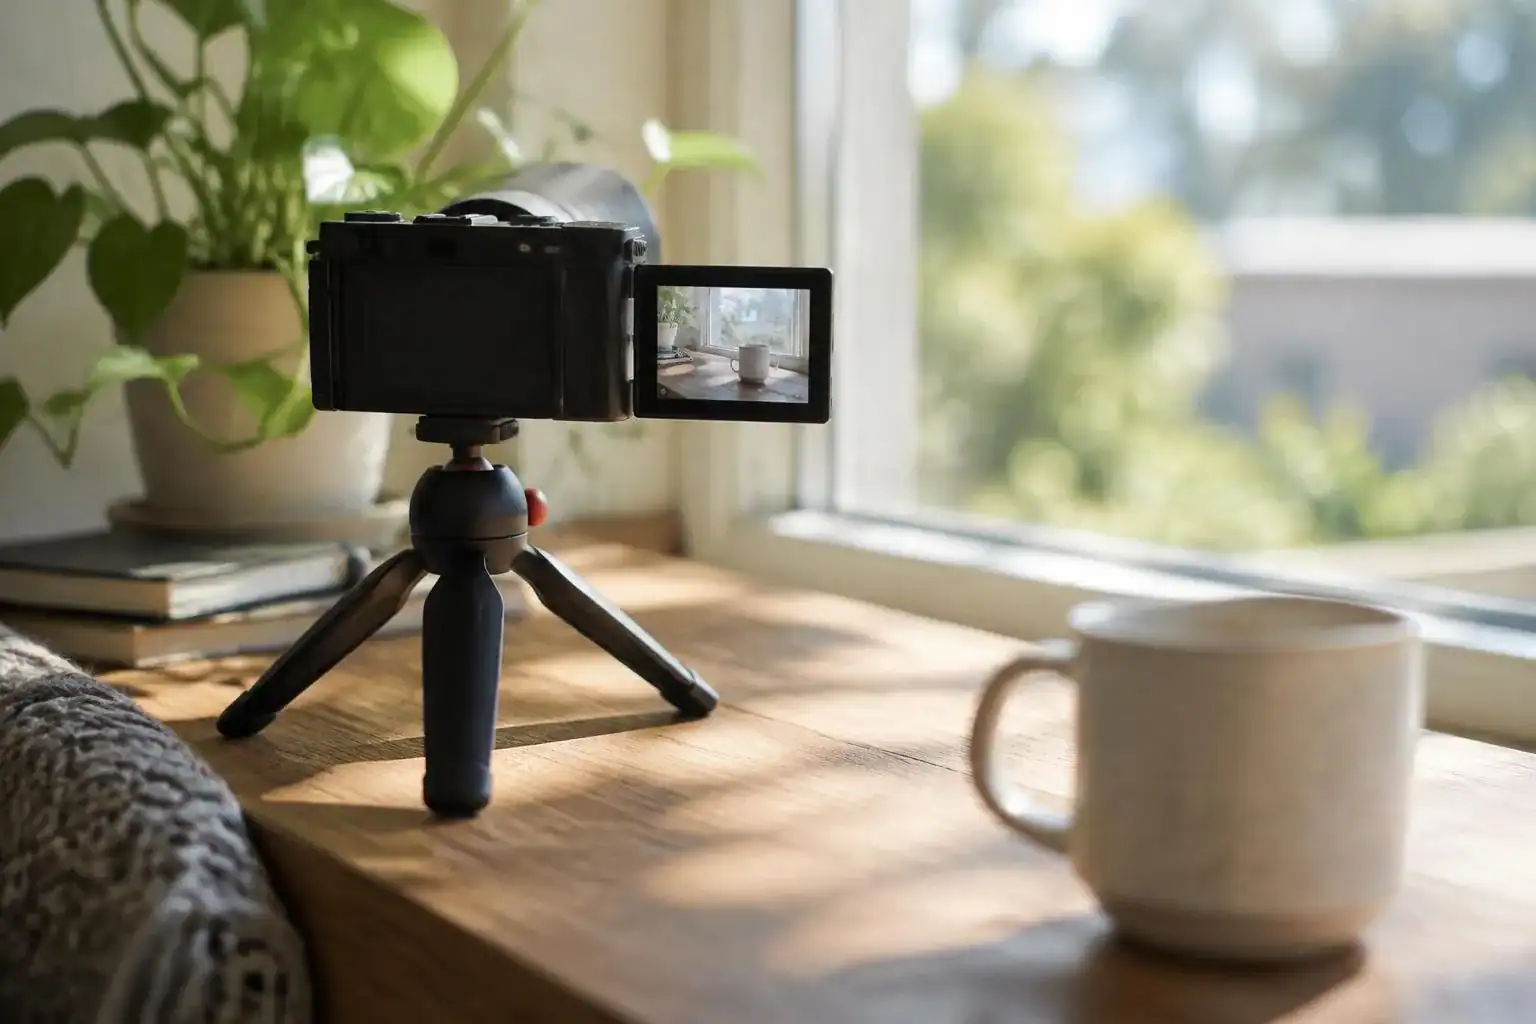
Most blurry video issues stem from external contaminants or incorrect camera settings. A dirty lens is the primary culprit, as oils from your fingers or airborne dust particles act like a filter that softens the image. When light passes through this layer, it creates a hazy, dream-like effect that prevents the sensor from capturing sharp details.
Another frequent cause is an incorrect focus mode. Many modern cameras use autofocus systems that can struggle in low-light environments or when there’s very little contrast in the scene. If the camera can’t find a clear edge to lock onto, it may hunt for focus repeatedly, resulting in footage that drifts between sharp and blurry.
Finally, movement plays a massive role in perceived sharpness. If your shutter speed is too slow for the frame rate you’re using, you’ll see motion blur in every individual frame. This is a common issue when filming in dark rooms where the camera tries to compensate for the lack of light by keeping the shutter open longer.
Clean the optics to restore clarity
To remove smudges, use a dedicated microfiber cloth and a drop of lens cleaning fluid. Never use paper towels, tissues, or your shirt, as these materials contain wood fibers that can create tiny, permanent scratches on the lens coating. If you see deep scratches or internal fungus, you should contact the manufacturer’s official support team, as these require professional disassembly that will void your warranty.
If the lens is clear but the image remains soft, check for a protective filter. Many people leave a UV or skylight filter on their lens for protection, but cheap filters often degrade image quality significantly. Remove the filter and shoot a test clip to see if the sharpness improves. If you see a difference, replace the filter with a high-quality multi-coated version.
To verify your cleaning results, point the camera at a sheet of printed text from about three feet away. If the letters look crisp on your monitor, the optics are no longer the problem. If the text remains soft, the issue is likely internal or related to your electronic settings.
Adjust your camera focus settings

If your camera has a touchscreen, try tapping the subject on the display to force the autofocus to lock on. If you’re shooting a static subject, switch the camera to manual focus mode and use the focus peaking feature if your model includes it. This tool highlights the sharpest edges in your frame with a bright color, making it much easier to confirm when the focus is perfect.
If you’re using a zoom lens, be aware that some lenses lose sharpness at their maximum focal length. Try pulling back slightly from your maximum zoom, as this often shifts the glass elements into a sharper position. If you’re shooting handheld, ensure that any built-in image stabilization is turned on.
For those using a tripod, disable image stabilization entirely. When a camera is mounted on a solid surface, the stabilization system can sometimes mistake tiny vibrations for movement and introduce artificial blur. You can verify your camera’s image stabilization behavior in the official technical manual for your specific model.
Change your shutter speed for motion
When your video looks blurry during movement, you likely need to increase your shutter speed. A common rule of thumb is to set your shutter speed to double your frame rate. For example, if you’re shooting at 30 frames per second, set your shutter speed to at least 1/60th of a second. This timing captures enough motion blur to look natural while keeping the image sharp.
If you’re filming in a bright environment, you might be tempted to use a very fast shutter speed, but this can cause a “stuttery” look. If the footage looks sharp but choppy, slow your shutter speed down toward that 1/60th limit. If the image is too bright, use a neutral density filter to block light instead of increasing the shutter speed to an extreme level.
Using a higher shutter speed isn’t for everyone; it creates a very crisp, clinical look that some filmmakers find distracting. If you prefer a cinematic feel, stick to the 180-degree shutter rule and focus on steadying your camera movement.
Avoid common mistakes with your equipment
Don’t use household glass cleaners like Windex on your camera lens. The ammonia and harsh chemicals can permanently strip away the specialized optical coatings designed to reduce flare and improve contrast.
Don’t rely on digital zoom to frame your shots. It simply crops into the image and magnifies existing blur without adding any real detail. Always move your feet or adjust your focal length optically to maintain resolution.
Don’t ignore the minimum focus distance of your lens. Trying to get closer than the lens allows will always result in a soft, unusable image because the glass can’t physically converge light at that range. Check the barrel for the distance marking.
Don’t leave your lens cap off when the camera is stored. This invites dust and debris to settle on the front element. Even microscopic particles can scatter light, creating a hazy, dreamlike effect that ruins the crispness of your high-definition footage.
How to maintain sharp video quality
If you’re currently struggling with soft footage, you can improve your results by changing your workflow. Consistency is the key to preventing blur before it happens.
| If you’re doing this | Do this instead | Why |
|---|---|---|
| Touching the glass | Use a blower bulb | Avoids rubbing oils into the lens |
| Using auto focus | Switch to manual focus | Prevents the camera from hunting |
| Shooting handheld | Use a tripod | Removes micro-jitters from hands |
| High ISO settings | Add more lighting | Reduces digital noise and blur |
Frequently asked questions
How long does a lens take to clean?
It takes about 1-2 minutes to clean a lens properly. Start by blowing off loose dust with a rubber bulb to prevent scratching, then gently wipe the glass in a circular motion with a clean microfiber cloth. If the lens is very greasy, add a small drop of lens cleaner to the cloth first, but never apply liquid directly to the glass surface.
Is it safe to use compressed air on a lens?
No, you should never use canned compressed air on a camera lens. The high pressure can force dust and debris inside the lens barrel or damage the delicate internal seals. Additionally, some cans contain propellants that can leave a sticky residue on the glass. Always use a manual rubber blower bulb designed for camera sensors and optics instead.
Why is my video blurry only at the edges?
This is likely a natural optical limitation called lens softness or field curvature. Many lenses are sharpest in the center and get softer toward the corners, especially at wide apertures. To fix this, try increasing your f-stop (making the aperture smaller) to f/5.6 or f/8. This usually sharpens the entire frame, though it will require more light to maintain a good exposure.
Can a camera sensor cause blurry videos?
Yes, but it’s rare for a sensor to cause blur unless it’s physically misaligned. If the image is consistently blurry across all lenses, the sensor might be slightly tilted or dirty. Don’t attempt to clean the sensor yourself if you aren’t trained, as it’s extremely fragile. Take the camera to an authorized service center for a professional diagnostic and cleaning.
What happens if I use a cheap lens filter?
A cheap filter can reduce the contrast and sharpness of your video because the glass isn’t high-quality optical grade. These filters often cause “flare” or ghosting when you shoot near light sources. If you want to protect your lens, buy a multi-coated clear filter from a reputable brand. If the blur disappears when the filter is off, the filter is the problem.
Conclusion
If the image still doesn’t look sharp after these checks, you shouldn’t worry too much. Sometimes, a quick firmware update or a professional sensor cleaning is all it takes to get things back on track. Don’t hesitate to reach out to the manufacturer’s support team if you’re still having trouble capturing clear footage.