
To fix camera image stabilization problems, you should first toggle the stabilization switch on your lens or camera body to reset the internal mechanism. This issue most often stems from software glitches, loose mounting points, or settings that conflict with your current shooting conditions. If a simple power cycle doesn’t restore functionality, you must inspect the physical connection points for debris or damage.
Reasons for unstable camera images
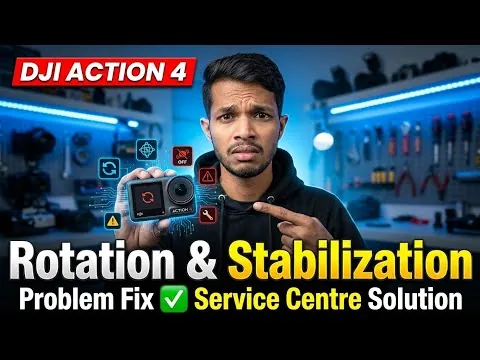
Image stabilization issues usually arise from three primary categories: mechanical interference, sensor calibration errors, or user-defined setting conflicts. The most common cause is a software communication error between the lens and the camera body, which prevents the stabilization motor from receiving the correct data. When this happens, the system may jitter or fail to engage, leading to blurred shots despite the feature being turned on.
Another frequent cause involves environmental factors, such as extreme cold or physical impact. Internal stabilization units rely on precise, microscopic movements to compensate for your hand shake. If the camera has been dropped or subjected to heavy vibration, the internal floating elements can become misaligned.
You can verify if your specific model has a known calibration issue by checking the Canon official support database for firmware updates related to lens communication. Finally, using a tripod while stabilization is active can actually cause the system to “hunt” for movement that isn’t there, resulting in blurry images rather than sharp ones.
Fix camera image stabilization settings
If your camera is struggling to keep the image steady, the first step is to perform a hard reset of the communication pins. Power off the camera completely and remove the lens from the body.
Use a clean, dry microfiber cloth to gently wipe the gold-colored electrical contacts on both the back of the lens and the inside of the camera mount. These pins are delicate; never use liquid cleaners or abrasive materials, as they can permanently damage the contact surface.
Once cleaned, reattach the lens firmly until you hear a distinct click. Turn the camera back on and navigate to the menu to disable and then re-enable the stabilization feature.
If you’re using a tripod, ensure that the stabilization is set to “Off” or “Tripod Mode,” as leaving it active on a static surface is a common mistake that causes the sensor to overcompensate. If the camera still reports an error, it’s time to try a different lens to isolate whether the fault lies in the body or the glass.
Update your camera firmware
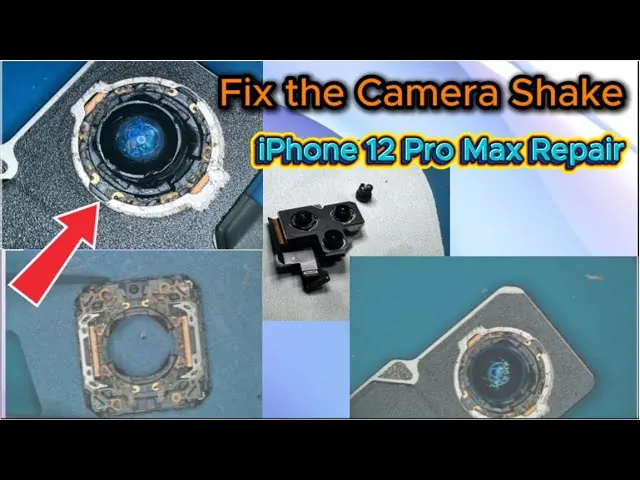
Outdated firmware is a frequent culprit for stabilization bugs, especially when using newer lenses on older bodies. Manufacturers release software updates that specifically fix communication protocols between the lens motor and the camera’s image processor. Before starting an update, ensure your battery is fully charged, as a power failure during this process can render your camera unusable. You must follow the exact instructions provided by your manufacturer, as installing the wrong file can void your warranty or cause system corruption.
If you aren’t comfortable performing a firmware update, or if the update process fails, don’t attempt to force it. Contact a local, authorized service center to have a professional technician handle the update. This isn’t for you if you don’t have a stable computer connection or the correct proprietary software provided by your camera brand. If the software is already up to date and the problem persists, the issue is likely a hardware failure that requires professional repair.
Troubleshoot environment and tripod use
Sometimes the issue isn’t with the camera, but with how it’s being used in a specific environment. If you’re shooting at very fast shutter speeds, the stabilization system may struggle to keep up with the rapid movement of the sensor. Similarly, high-wind conditions can vibrate your tripod, causing the stabilization system to fight against the external force. You should always use a remote shutter release or the camera’s self-timer feature to minimize physical contact when shooting at slow shutter speeds.
If you find that the stabilization works only when the camera is held at a specific angle, you likely have a loose internal ribbon cable or a failing motor. This level of hardware failure is beyond a home fix and requires an expert. If you have tried these steps and the image remains shaky, consult your user manual for the specific “Error Code” displayed on your screen, which can help a technician diagnose the exact part that needs replacing.
Mistakes that damage stabilization systems
Leaving stabilization turned on while the camera is mounted on a tripod creates a feedback loop. The sensor detects the lack of movement and tries to compensate, causing the mechanism to vibrate unnecessarily. This constant jitter can eventually degrade the motor’s internal gears.
Forcing a lens onto the camera body without aligning the white or red dots can bend the delicate contact pins. These pins transmit critical data between the lens and body. If they’re misaligned, the stabilization system may receive erratic commands, leading to jittery or blurred images.
Storing a camera in a hot car or humid environment causes internal condensation. Moisture can corrode the sensitive electronic stabilizers.
Ignoring a “Lens Error” message often leads to the stabilization motor burning out. The system continues to try and move against a jammed gear. This strain generates enough heat to permanently damage the delicate internal stabilization circuitry.
Prevent future image stabilization issues
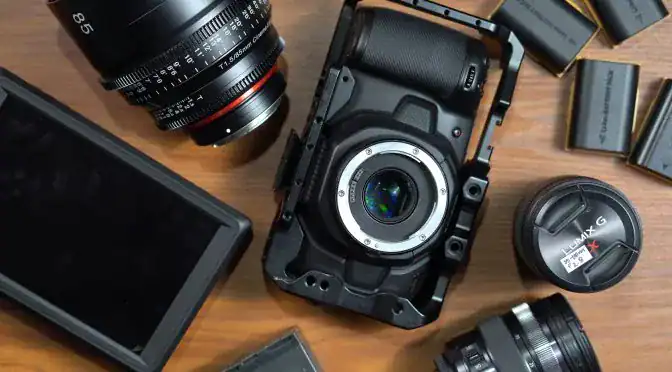
To keep your camera performing at its best, you must match your settings to the environment. The following table helps you determine when to use stabilization and when to turn it off to protect your gear.
| If you’re doing this | Do this instead | Why |
|---|---|---|
| Shooting on a tripod | Turn stabilization off | Prevents the system from hunting |
| Handheld at slow speeds | Turn stabilization on | Compensates for natural hand shake |
| Shooting high-speed sports | Use a fast shutter speed | Freezes action better than stabilizers |
| Cleaning the camera mount | Use a dry cloth only | Prevents electrical shorts on pins |
Frequently asked questions
How long does an image stabilization motor last?
Most stabilization systems are rated for the lifespan of the camera, but heavy professional use can shorten this period of active operation. If your stabilization system begins to make a grinding or high-pitched whining noise, it’s likely reaching its mechanical limit. At that point, you should contact the manufacturer’s service center to assess if a replacement motor is cost-effective.
Is it safe to use a camera with broken stabilization?
Yes, it’s perfectly safe to use your camera even if the stabilization system has failed completely. You won’t cause further damage to the sensor or the main processor by shooting without stabilization. However, you’ll need to use faster shutter speeds or a sturdy tripod to compensate for the loss of the feature, as your handheld shots will no longer have that extra layer of blur reduction.
Why does my image look blurry only at the edges?
Blurriness at the edges of an image is typically a lens optical issue rather than a stabilization problem. This usually happens when the lens is at its widest aperture or when the focal plane isn’t perfectly parallel to your subject. Before assuming your stabilization is broken, try taking a test shot of a flat wall to see if the blur is consistent across the entire frame.
Can I fix a loose internal stabilizer myself?
No, you should never attempt to open the camera or lens housing to fix internal components. The internal stabilization unit contains highly sensitive, calibrated parts that require specialized factory tools for realignment. Attempting to repair these parts yourself will almost certainly void your manufacturer’s warranty and may cause permanent, irreversible damage to the sensor or the lens glass.
How do I know if the lens or body is the problem?
You can identify the source of the fault by testing your lens on a different camera body or by using a known-working lens on your camera. If the stabilization works with another lens, your original lens needs service. If the stabilization fails with every lens you attach, the issue is internal to the camera body’s stabilization system or the mount interface.
Conclusion
If these basic checks don’t get your gear working, it’s time to contact the manufacturer’s support team for a professional assessment. They’ll help you determine if your hardware needs a repair. Don’t let a technical hiccup stop your creativity; you’ll be back to capturing sharp, steady shots in no time.


1 Comment
Pingback: Why Is My Webcam Not Working on Windows 11? Quick Fixes