Your camera is likely failing to connect to your network because of a mismatch in frequency bands, outdated firmware, or simple signal interference. Most smart cameras are designed to operate strictly on a 2.4 GHz frequency, while many modern household routers prioritize or exclusively use the 5 GHz band, creating a fundamental communication barrier. Beyond frequency, authentication errors, incorrect security protocols, or distance from the wireless access point often prevent your device from establishing a stable handshake with your internet gateway.
Key Takeaways
- Check if your router is broadcasting a 5 GHz signal exclusively, as most cameras require 2.4 GHz.
- Ensure your smartphone is connected to the same network you intend for the camera to use.
- Update your camera’s firmware through the manufacturer’s mobile app to resolve known connectivity bugs.
- Reset your router by unplugging it for 30 seconds to clear temporary cache or IP conflicts.
- Verify that your Wi-Fi password doesn’t contain special characters that the camera software might reject.
Why Is My Camera Not Connecting?
When your device refuses to join the network, it’s usually because the hardware is struggling to negotiate a connection with the router’s security settings. Most cameras require WPA2-AES encryption to function correctly.
If your router is configured for WPA3 or an older WEP standard, the camera may reject the connection for security reasons. Furthermore, if you recently changed your internet service provider or upgraded your modem, the camera is still trying to reach an SSID or password that no longer exists in your environment.
The Importance of Frequency Bands
The primary culprit for connection failure is the distinction between 2.4 GHz and 5 GHz networks. While 5 GHz offers faster speeds for streaming, it has a shorter range and struggles to penetrate walls. Cameras are optimized for 2.4 GHz because it provides the necessary range to cover outdoor perimeters or distant rooms. If your router uses “Band Steering,” it may force the camera onto the 5 GHz band, which the camera hardware can’t see or use.
| Network Feature | 2.4 GHz Band | 5 GHz Band |
|---|---|---|
| Range | Long distance | Short distance |
| Compatibility | High for cameras | Low for older cameras |
| Speed | Moderate | Very high |
| Wall Penetration | Excellent | Poor |
How to Reset Your Network Settings
If you have verified the frequency and the device still fails, performing a hard reset on the camera is often the most effective solution. Locate the physical reset button on the camera chassis, which is often recessed to prevent accidental presses.
You may need a paperclip or a small pin to hold it for 10 to 15 seconds. Once the indicator light begins flashing, the camera has returned to its factory state, effectively clearing any corrupted network configurations that were preventing it from joining your local area network.
Checking for Signal Interference
Physical obstacles and electronic interference frequently degrade the wireless signal. If your camera is mounted behind large metal objects, thick concrete walls, or near high-traffic appliances like microwaves, the signal quality will drop significantly.
Pro Tip: Use a Wi-Fi analyzer application on your smartphone to check the signal strength at the exact location where the camera is mounted. If the decibel level is below -70 dBm, the camera will likely experience intermittent drops or fail to connect entirely during the initial setup process.
Common Software and App Issues
Your mobile application serves as the bridge between your phone and the camera during the initial configuration. If the app lacks the necessary permissions, such as access to your location or local network, it can’t pass the Wi-Fi credentials to the camera.
Always ensure you have granted the app full permissions within your phone’s settings menu. Additionally, ensure your phone’s cellular data is turned off while performing the setup, as some phones will drop the Wi-Fi configuration process if they detect a strong 5G or LTE signal.
Troubleshooting Firmware and Updates
Manufacturers frequently release updates to address connectivity stability. If your camera is stuck in a loop, it might be running an outdated version of the operating software that’s incompatible with newer router security patches.
Check the Federal Communications Commission guidelines regarding router security to understand how modern standards impact device connections. If your camera firmware is severely out of date, you may need to connect it via an Ethernet cable temporarily to allow it to pull the necessary updates from the manufacturer’s servers.
Managing Security Protocols
Security settings on your router are intended to protect your data, but they can be overly aggressive. If your router has a strict firewall or a MAC address filtering feature enabled, your camera will be blocked automatically.
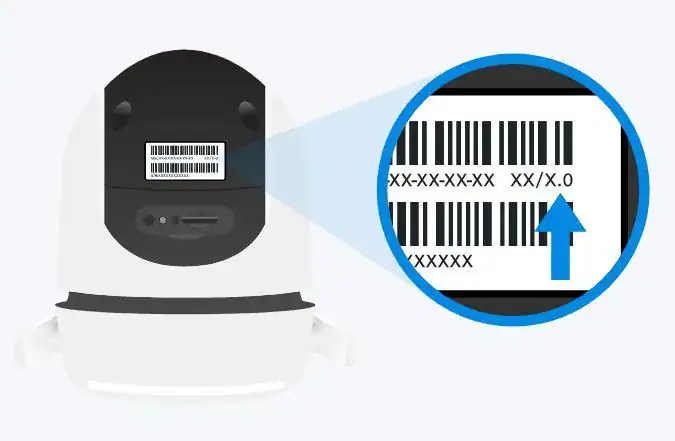
MAC filtering creates a whitelist of devices allowed to join the network. Because the camera is a new device, it isn’t on that list. You must either disable MAC filtering temporarily or manually add the camera’s unique MAC address, which is usually printed on the sticker attached to the base of the unit.
| Security Setting | Effect on Camera | Recommended Action |
|---|---|---|
| WPA3 Encryption | May block connection | Downgrade to WPA2 |
| MAC Filtering | Blocks new devices | Disable or whitelist ID |
| Hidden SSID | Prevents detection | Enable broadcasting |
| Guest Network | Limits device access | Use main network |
Assessing Hardware Damage
Sometimes the failure isn’t software-related but a genuine hardware malfunction. If the camera has been exposed to extreme heat or moisture, the internal wireless antenna may have suffered damage.
Warning: Never attempt to open the camera casing if it’s still under warranty, as this will void your protection plan and could result in electrical shock. If you have tried the steps above and the unit still can’t see any wireless networks, contact the manufacturer to determine if a replacement unit is necessary.
Managing Multiple Network Names
Many modern mesh router systems use a single name for both 2.4 GHz and 5 GHz bands. This convenience feature can confuse smart home devices. If your router allows it, create a “Guest Network” specifically for your IoT devices and restrict it to the 2.4 GHz band.
This isolates the camera from the traffic-heavy 5 GHz band and ensures it always connects to the correct frequency without the router attempting to steer it elsewhere. This simple segmentation often solves persistent connectivity issues instantly.
Frequently Asked Questions
Why does my camera show as offline?
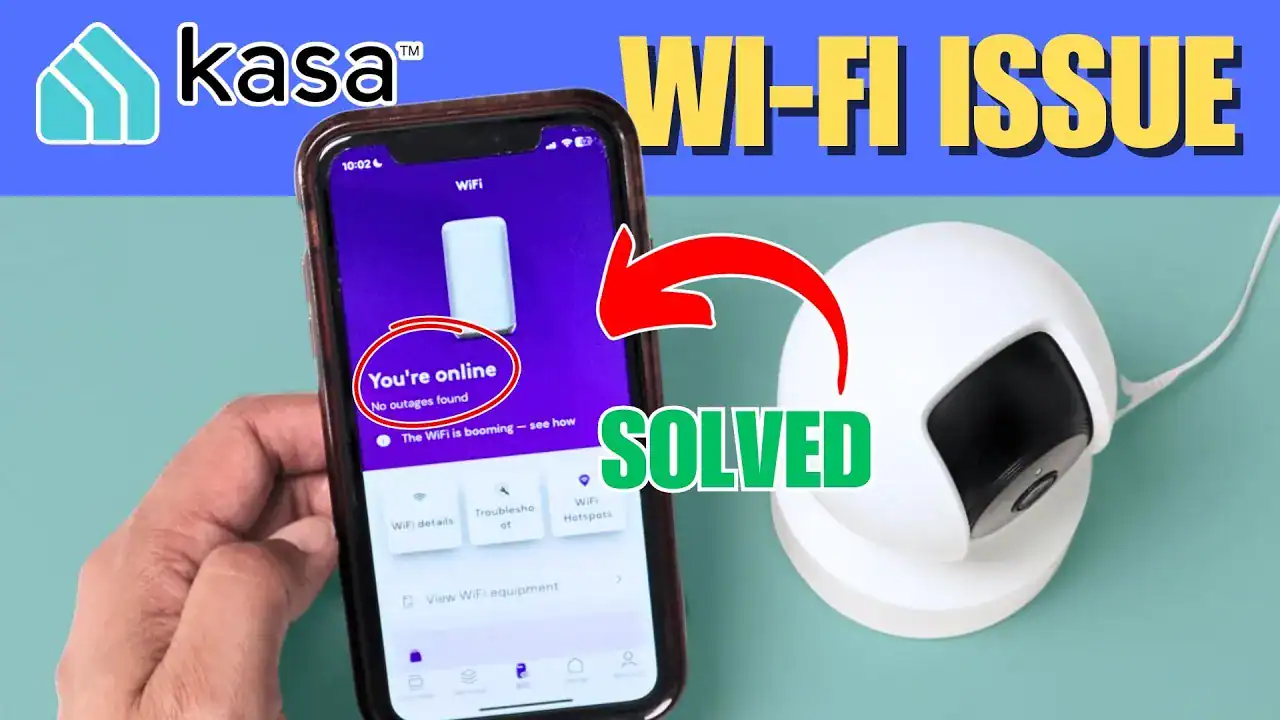
The camera may show as offline if it has lost its IP address lease from the router, or if the power source is inconsistent. Check that your power adapter is firmly plugged into the wall and that the outlet is functional. If the power is fine, the camera might have disconnected due to an unstable signal or a brief power surge that reset the connection.
Can I connect my camera to public Wi-Fi?
It’s strongly discouraged to connect a security camera to public or open Wi-Fi networks. These networks lack the security protocols necessary to protect your video feed from unauthorized access. Public networks also often have “captive portals” that require a web browser login, which most cameras are incapable of navigating. Always use a private, password-protected network to ensure your personal data remains secure.
How do I know if my camera is 2.4 GHz or 5 GHz?
You can determine your camera’s frequency compatibility by checking the technical specifications on the manufacturer’s packaging or their official website. If the device only mentions 802.11 b/g/n, it’s a 2.4 GHz device. If it mentions 802.11 ac or ax, it likely supports 5 GHz. Most budget-friendly home security cameras are strictly limited to the 2.4 GHz band for better range and wall penetration.
Will changing my router settings affect other devices?
Yes, changing settings like your Wi-Fi password or security encryption type will require you to reconnect every device currently using that network. If you change the SSID (network name) or password, you must manually update the settings on your computers, phones, and smart appliances. Perform these changes during a time when you have sufficient time to troubleshoot potential connectivity issues across all your household electronics.
What should I do if the camera still won’t connect?
If you have performed a factory reset, confirmed the 2.4 GHz band is available, and disabled MAC filtering, the issue may lie with the router’s DHCP table. Try power-cycling your router by unplugging it for a full minute. If the camera still fails to connect, try setting up the device using a different smartphone to rule out app or phone-specific configuration errors.
Conclusion
Start by verifying your router’s frequency settings, as this is the most frequent cause of connection failure. If your router is set to 5 GHz only, access your router’s administrative portal to ensure a 2.4 GHz band is active and broadcasting. Once confirmed, reset the camera to its factory default state and attempt the pairing process again while standing close to the router to ensure a strong signal.