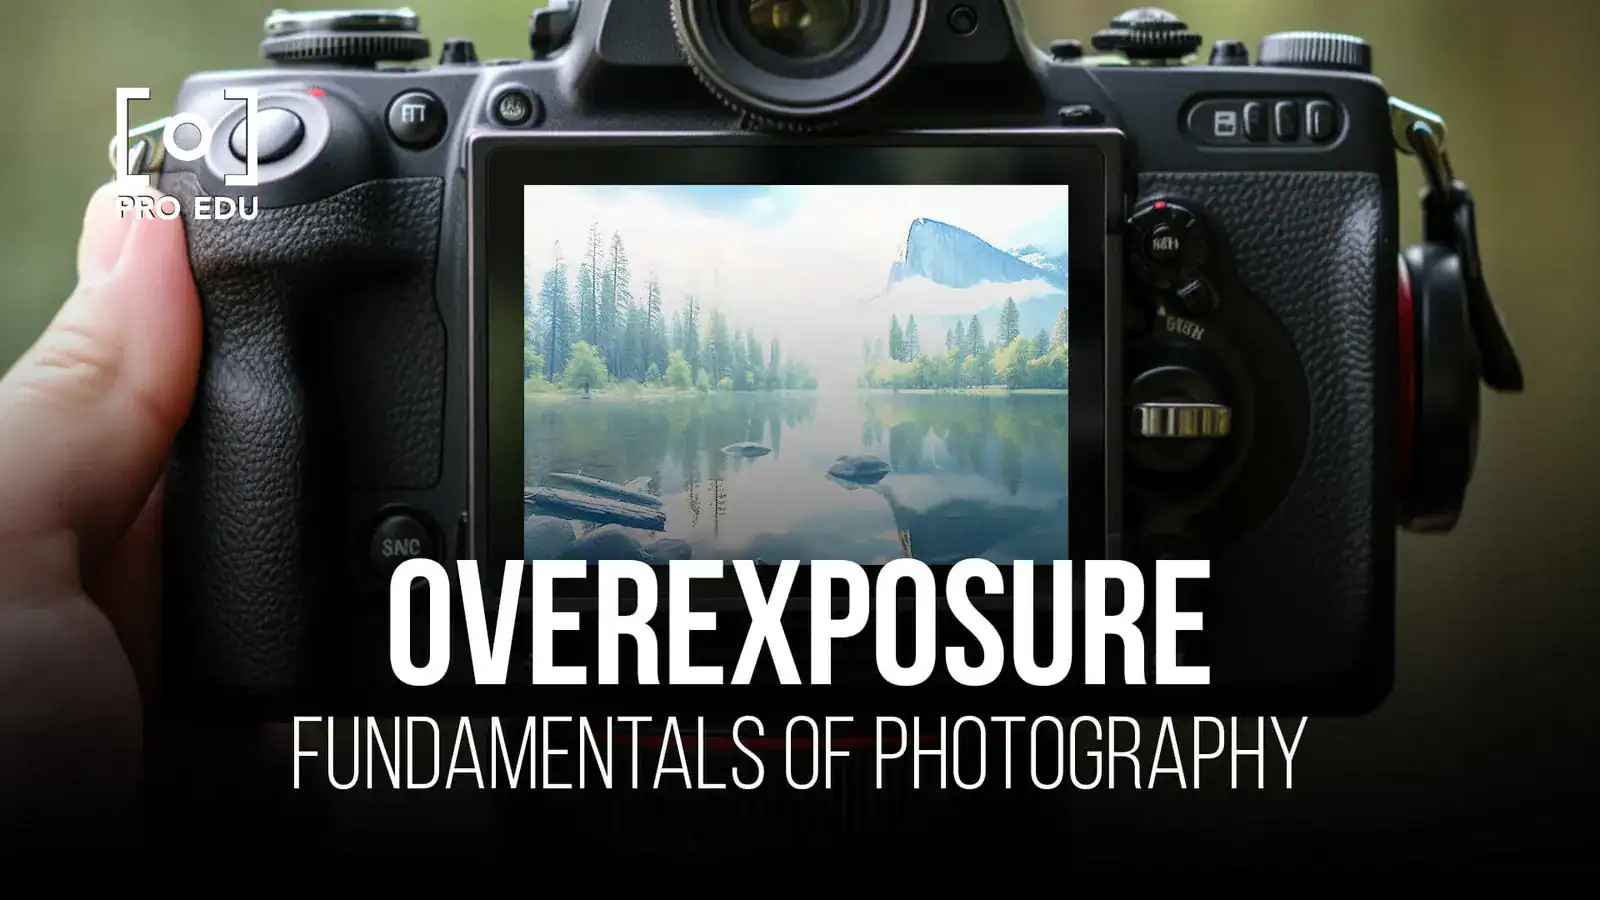
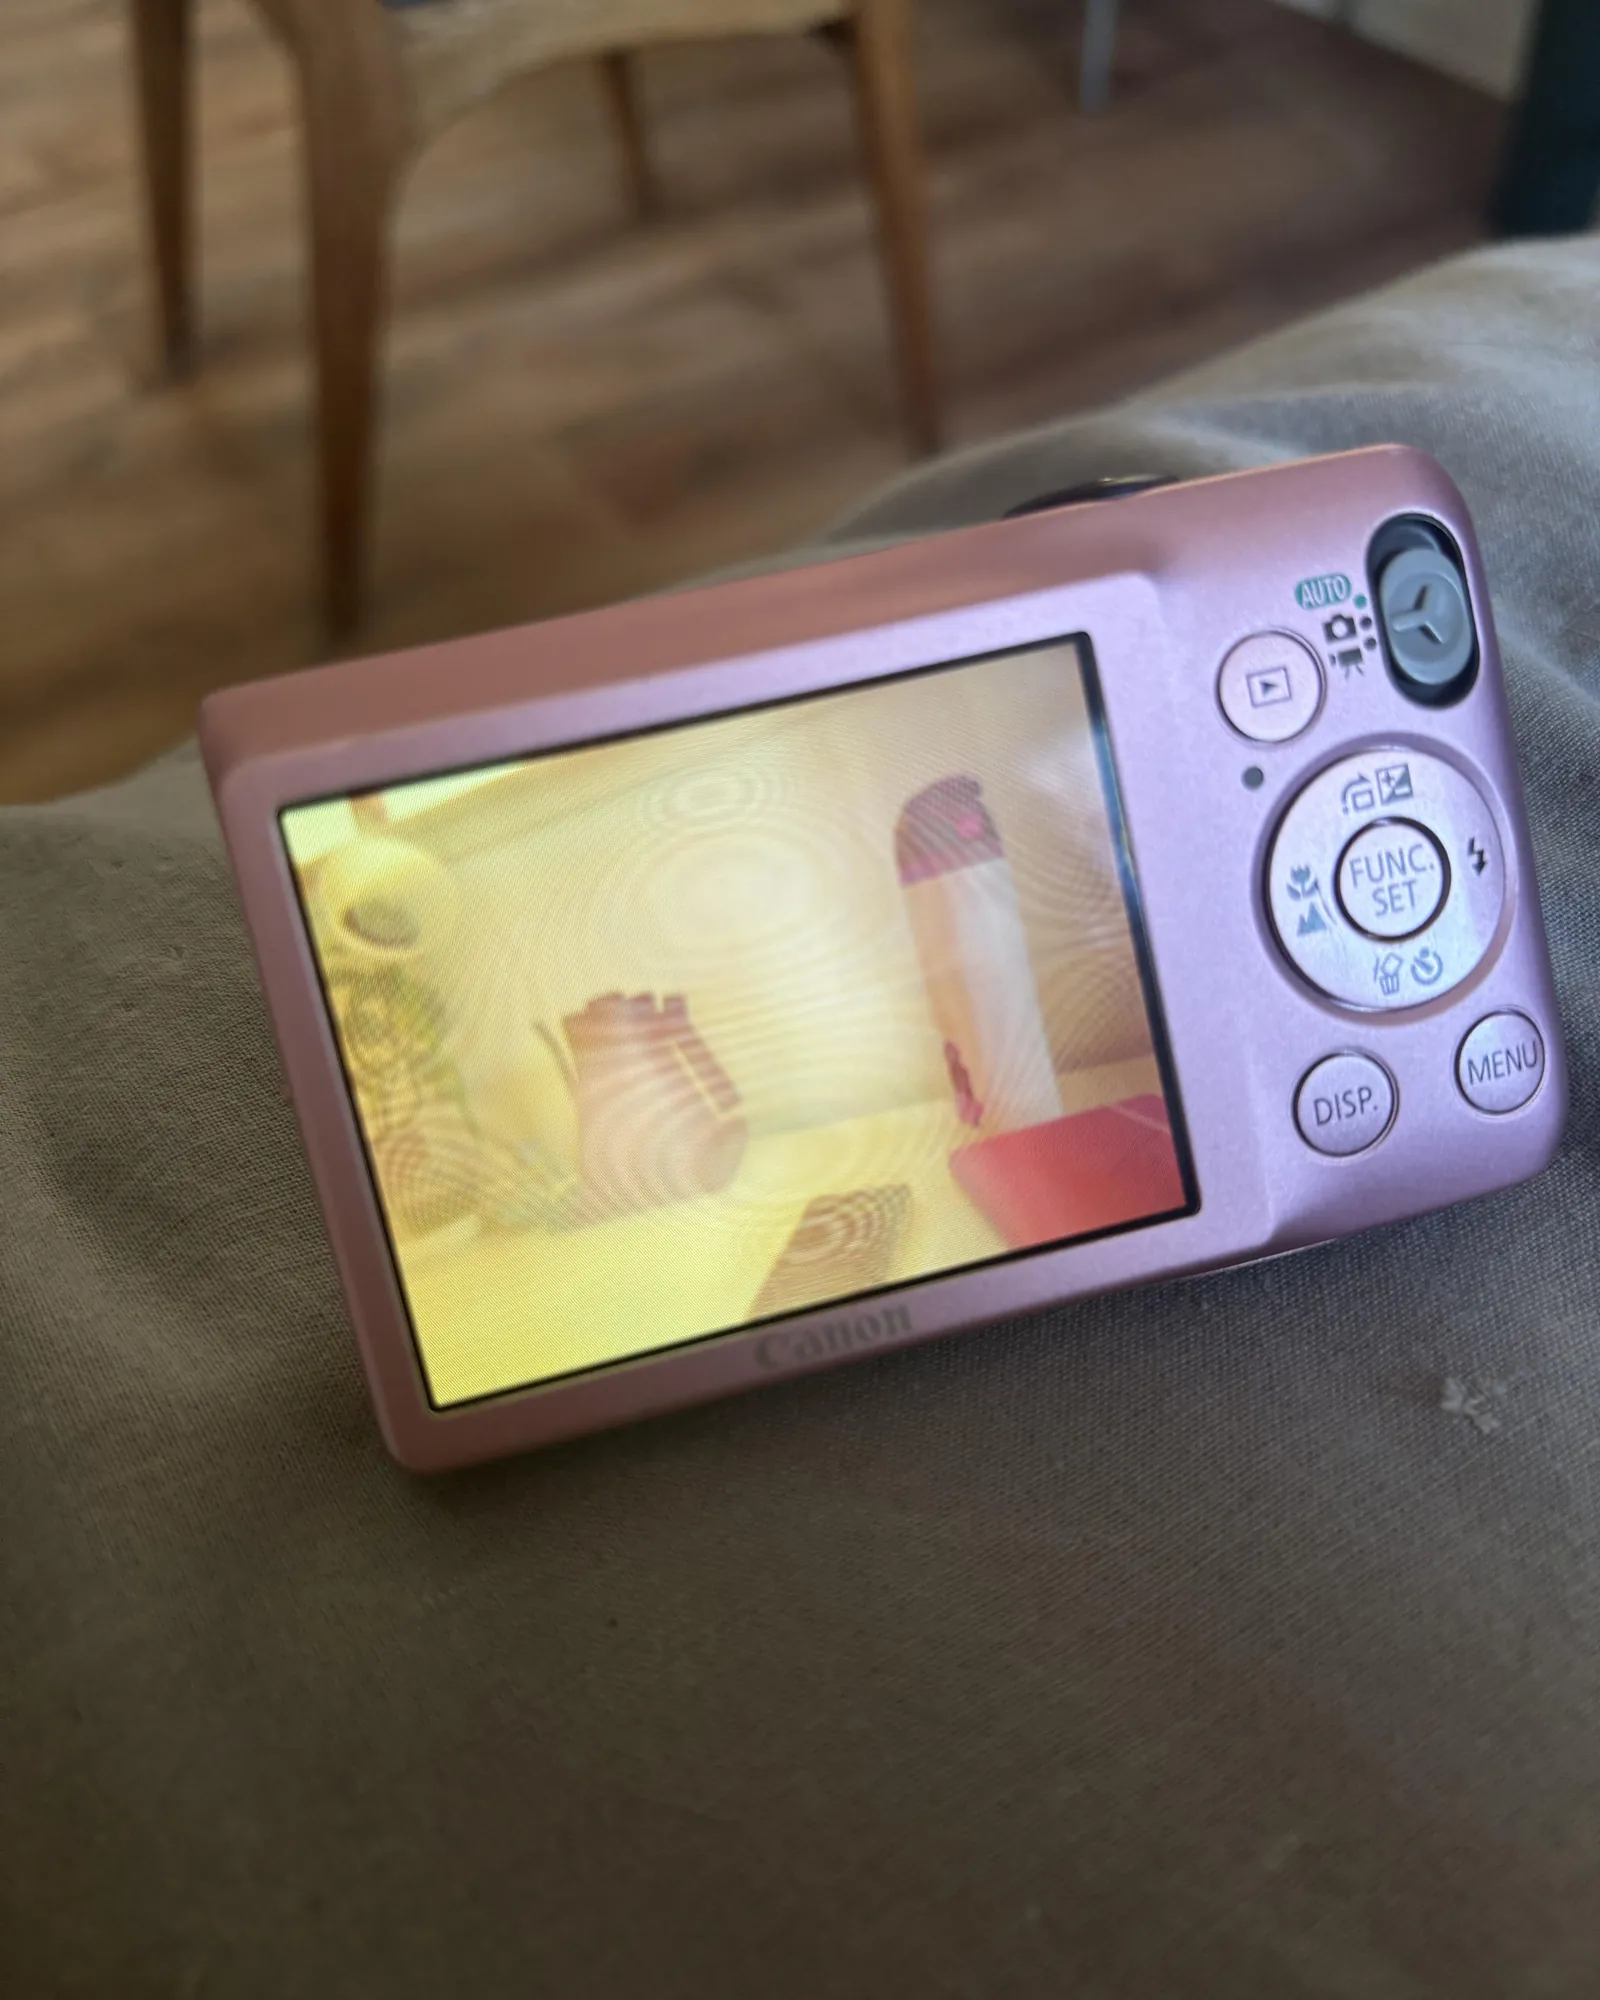
You can adjust your camera settings or lighting conditions to fix camera overexposure problems when your images look too bright or washed out. The most common cause is a shutter speed that stays open for too long in bright light, letting in more photons than the sensor can process. If your photos are consistently white or lack detail in the highlights, you should verify your exposure compensation dial first.
Why your camera creates overexposure problems

Overexposure happens because your camera sensor is receiving more light than is needed to capture a balanced image. This often occurs when the camera’s light meter miscalculates the brightness of a scene, especially if there’s high contrast between dark and light areas. If you’re shooting in a bright environment, the camera might struggle to find the right balance between aperture, shutter speed, and ISO.
The “sunny 16” rule is a useful guideline for estimating correct exposure settings in bright daylight. When the aperture is wide open, such as f/1.8, the lens allows a massive amount of light to hit the sensor in a short time. If the shutter speed isn’t fast enough to compensate for that wide opening, the image will inevitably be overexposed.
You can check your camera manual for specific guidance on proper light metering techniques to ensure your gear handles bright scenes correctly. If the scene contains large areas of snow or sand, the camera’s internal meter may get confused and over-brighten the entire frame.
Adjust your shutter speed for faster results
If your images are consistently too bright, you should increase your shutter speed to limit the time the sensor is exposed to light. A faster shutter speed, such as 1/1000th of a second instead of 1/60th, will drastically reduce the amount of light entering the lens. This is the primary method for stopping motion and darkening a scene without changing the depth of field.
This fix is ideal for outdoor photography in direct sunlight or when you’re using a lens with a very wide aperture. If you find that your images are still too bright even at the fastest shutter speed your camera offers, you’ll need to lower your ISO or choose a narrower aperture.
If you’re using a manual mode, start by setting your shutter speed to at least 1/500th and observe the result. If the image remains washed out, continue increasing the speed until the highlights regain detail. Note that if you use a slow shutter speed, you might need a tripod to keep the framing steady, depending on your lens focal length.
Change your aperture to control light flow
Adjusting your aperture is a powerful way to limit the amount of light reaching the sensor while simultaneously changing your image’s depth of field. By moving from a wide aperture like f/2.8 to a narrower one like f/11, you physically restrict the opening of the lens. This allows you to maintain your current shutter speed while forcing the camera to record a darker, more detailed image.
This approach is best for landscape photography where you want everything from the foreground to the background to be in sharp focus. If you’re shooting portraits, however, be careful: a very narrow aperture will cause the background to lose its blur, which might not be the look you want.
If you’re unsure of your current setting, look for the “f-stop” number on your camera’s LCD screen. A higher number means a smaller opening, which results in less light hitting the sensor. If the exposure still looks wrong after closing the aperture, you must adjust the ISO setting to a lower value.
Lower your ISO for better light sensitivity
Reducing your ISO is the most effective way to make your camera sensor less sensitive to light, which is crucial when you can’t change your shutter speed or aperture. Most cameras have a base ISO of 100 or 200, which provides the cleanest image quality with the least amount of digital noise. If your ISO is set to 800 or higher during a bright day, your sensor is essentially “over-amplifying” the available light.
This fix is intended for situations where you have already reached the limits of your shutter speed and aperture settings. It isn’t for low-light scenarios, as a lower ISO will require more light to produce a visible image.
If you find yourself in a very bright environment, ensure your ISO is at its lowest native setting before changing other variables. If you’re using a professional-grade camera, check the manufacturer’s specific range for the “native” or “base” ISO, as setting it below that value can sometimes reduce the dynamic range of your files.
What not to do with bright images
- Don’t rely on the camera’s “Auto” mode to fix high-contrast scenes, as the software often tries to brighten shadows at the expense of your highlights.
- Avoid using a flash in daylight to “fill” shadows if your camera is already struggling with overexposure, as this adds even more light to an already bright frame.
- Don’t trust the rear LCD screen brightness to judge exposure, as it’s often set to a level that makes images look brighter than they truly are.
- Never use a wide-open aperture in direct midday sun without a neutral density filter, as this forces the camera to use shutter speeds that may exceed its physical limit.
How to stop it happening again
To prevent overexposure, you must learn to read your camera’s histogram rather than just looking at the final image on the screen. The histogram is a graph that shows the distribution of light; if the data is pushed hard against the right edge, your highlights are being clipped and lost.
| If you’re doing this | Do this instead | Why |
|---|---|---|
| Leaving ISO on Auto | Set ISO to 100 or 200 | Keeps sensitivity low and image clean |
| Using wide aperture | Narrow aperture to f/8 or f/11 | Restricts light entry physically |
| Ignoring the meter | Use exposure compensation (-0.3 to -1.0) | Tells the camera to underexpose slightly |
| Shooting in JPEG | Shoot in RAW format | Retains more highlight data for editing |
Frequently asked questions
How do I know if my photo is actually overexposed?
You can confirm overexposure by checking the histogram on your camera’s playback screen. If the graph shows a spike of data touching the far right edge, your image is losing detail in the brightest areas. Many modern cameras also have a “highlight alert” or “blinkies” feature that will flash the overexposed parts of your image in black or white on the screen.
Does the camera brand change how I fix overexposure?
No, the core principles of the exposure triangle—shutter speed, aperture, and ISO—work the same way across all camera brands. While the menu locations for these settings vary, the physics of how light hits the sensor remains constant. You should look for the “M” or “A/Av” mode on your dial to take manual control over these three specific variables regardless of your camera model.
Is it safe to fix overexposure in editing software?
Yes, it’s safe to adjust exposure in software, but only if you shot your photos in RAW format. RAW files contain much more data than JPEGs, allowing you to recover detail from bright highlights that seem lost. If you shoot in JPEG, the data is permanently compressed, and trying to lower the exposure usually results in flat, grey areas without any texture or color detail.
How long does it take to learn manual exposure?
You can typically master the interaction between the three settings in various lighting conditions after a few hours of practice.
What happens if I can’t stop the overexposure?
If you have set your ISO to the lowest level, your shutter speed to the fastest limit, and your aperture to the narrowest setting, and the image is still too bright, you have reached the limits of your gear. In this case, you need a neutral density filter, which acts like sunglasses for your lens, to block excess light from entering the camera.
Is overexposure the same as motion blur?
No, overexposure is a problem of too much light, while motion blur is a problem of a shutter speed that’s too slow. If your image looks bright and lacks detail, you have an exposure problem. If your image is bright but the subjects appear smeared or fuzzy, you have a motion blur problem caused by the camera or subject moving while the shutter is open.
Conclusion
Taking great photos takes practice, so don’t get discouraged if your first few attempts aren’t perfect. Experimenting with these settings in different environments will help you feel more confident behind the lens. Grab your camera this weekend, head outside, and see how these small adjustments make your images pop.