Keeping your camcorder clean and well-maintained is essential if you want high-quality videos and a long-lasting device. Dust, fingerprints, and moisture can affect your recordings and even damage sensitive parts. Many people don’t realize that regular care can prevent expensive repairs and keep their camcorder working smoothly for years.
Whether you use your camcorder for family events, travel, or professional work, a simple cleaning routine and smart maintenance habits can make a big difference. Let’s look at the best ways to clean and maintain a camcorder, so you can enjoy clear, sharp videos every time.
Understanding The Parts Of Your Camcorder
Before you start cleaning, it helps to know the main parts of your camcorder. Each part needs a different approach:
- Lens: Captures the image. Needs careful cleaning to avoid scratches.
- Viewfinder and LCD screen: Where you see your shots. Can gather fingerprints and dust.
- Microphone: Picks up sound. Dust can block sound quality.
- Body: The main exterior, which can pick up dirt from hands.
- Battery compartment and memory card slot: Where dust and lint often hide.
- Control buttons and dials: Used for settings; can get sticky or dirty over time.
Knowing these areas helps you focus your cleaning and avoid damaging delicate parts.
Why Regular Cleaning Matters
A camcorder is a precision device. Even a small amount of dirt or dust can cause problems:
- Image quality drops if the lens is dirty or scratched.
- Sound becomes muffled if the microphone is blocked.
- Buttons may stick or stop working if grime builds up.
- Moisture inside the camcorder can lead to corrosion or short circuits.
Most beginners don’t realize that cleaning can also prevent problems with autofocus or lens motor functions. Dust inside the battery compartment can even affect charging.
Essential Cleaning Tools And Materials
You don’t need expensive products, but you do need the right tools:
- Microfiber cloth: For gently wiping the lens and screens.
- Lens cleaning solution: Special fluid for camera lenses.
- Soft brush or air blower: Removes dust from hard-to-reach spots.
- Cotton swabs: Cleans corners and small gaps.
- Isopropyl alcohol (70% or less): For stubborn dirt on the body (never on the lens).
- Lens tissue paper: For extra-delicate cleaning.
- Camera-safe wipes: Good for the LCD screen and body.
Never use rough cloths, household cleaners, or canned air, as they can scratch or damage your camcorder.
Step-by-step: How To Clean A Camcorder
Cleaning a camcorder is not difficult, but doing it the right way is important. Here’s a simple process:
1. Power Off And Remove Accessories
Turn off your camcorder and remove the battery and memory card. This keeps you safe and avoids damage from static or moisture.
2. Clean The Exterior
Use a soft, slightly damp microfiber cloth to wipe the body. For tight spots, use a cotton swab. If there’s sticky residue, a small amount of isopropyl alcohol on the cloth can help, but never let liquid drip inside.
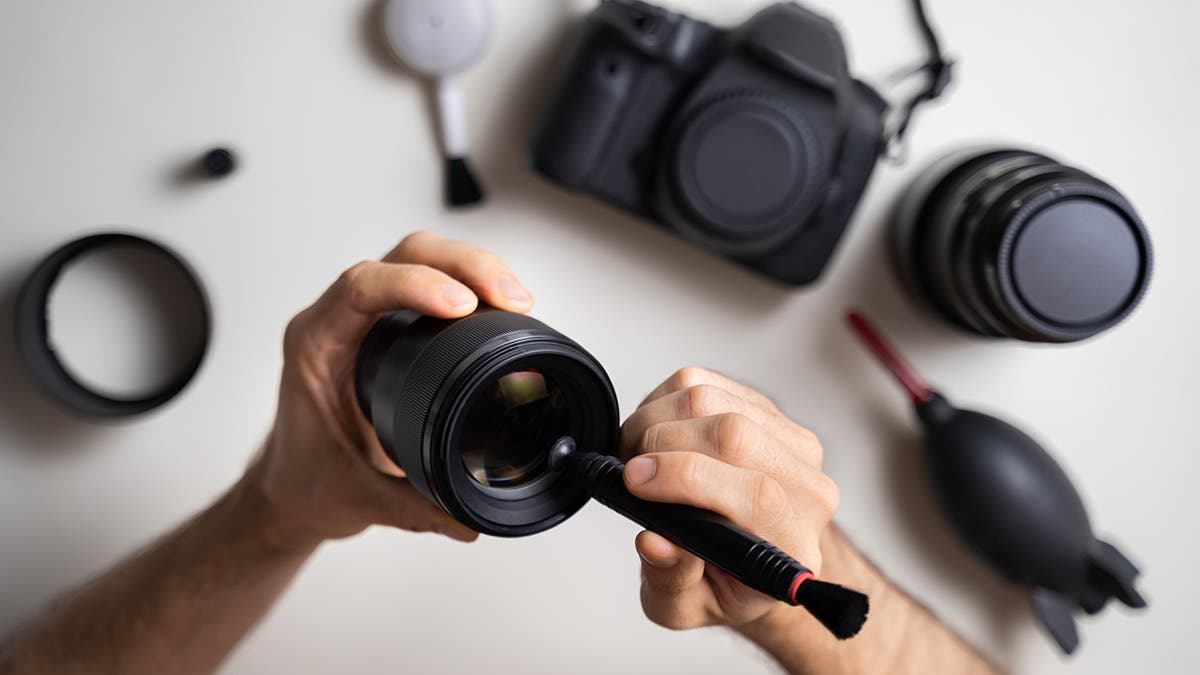
3. Clean The Lens
This is the most sensitive part. Blow away dust with an air blower or soft brush. Apply a drop of lens cleaning solution to a microfiber cloth or lens tissue—never directly on the lens. Wipe in gentle circles from the center outward.
Avoid pressing hard.
4. Clean The Lcd Screen And Viewfinder
Gently wipe the screen with a clean microfiber cloth. If needed, use a camera-safe screen wipe. Do not use alcohol or rough materials, as these can leave marks.
5. Clean The Microphone And Ports
Use a dry, soft brush to clear dust from the microphone and connectors. Avoid using liquids here, as moisture can damage electronics.
6. Check And Clean The Battery And Card Slots
Blow out dust using an air blower. Do not use metal objects or liquids. Make sure everything is dry before reinserting batteries or cards.
7. Reassemble And Inspect
Once everything is clean and dry, reinsert the battery and memory card. Power on the camcorder and check that everything works.
How Often Should You Clean Your Camcorder?
How frequently you clean your camcorder depends on use and environment. Here’s a simple guide:
| Usage Type | Cleaning Frequency | Special Notes |
|---|---|---|
| Occasional (few times a month) | Once a month | Store in a clean, dry place |
| Regular (weekly use) | Every 2-3 weeks | Check lens before each use |
| Outdoor/Travel | After each trip | More frequent if dusty or humid |
| Professional/Heavy use | Weekly | Consider professional cleaning yearly |
Storing Your Camcorder Properly
Storage is a part of maintenance that many users ignore. Proper storage can prevent dust, moisture, and accidental drops.
- Use a padded case: Protects from bumps and dust.
- Store in a cool, dry place: Humidity can cause fungus or corrosion.
- Keep away from direct sunlight: Heat can damage electronics and plastic.
- Remove the battery if you won’t use the camcorder for weeks. This prevents battery leaks.
- Silica gel packs can help absorb moisture in the case.
A common mistake is storing a camcorder in a bag with snacks or drinks. Even a small spill can cause damage that’s expensive to fix.
Maintenance Tips For Long-term Performance
Regular cleaning is only one part of camcorder care. Here are more maintenance tips:
- Update firmware: Manufacturers sometimes release updates that fix bugs or improve features. Check the official website regularly.
- Use quality memory cards: Cheap cards can fail, causing data loss or errors.
- Charge batteries correctly: Don’t overcharge or let them drain completely. Modern batteries last longer if you recharge when they reach 20–30%.
- Avoid extreme temperatures: Hot or cold environments can damage batteries and internal parts.
- Handle with care: Don’t force buttons or dials. Use the strap to prevent accidental drops.
- Check for loose screws or parts: Tighten gently if needed, but avoid overtightening.
- Service professionally: If you notice odd noises, lens issues, or error messages, get a qualified technician to check your camcorder.
Common Cleaning And Maintenance Mistakes
Many beginners make errors that can damage their camcorder. Watch out for these:
- Using household cleaners: These can damage coatings on the lens and screen.
- Spraying liquid directly: Always apply liquids to a cloth first.
- Using rough paper towels: This can scratch glass and plastic parts.
- Forcing open battery or card slots: Be gentle to avoid breaking hinges or connectors.
- Ignoring salt or sand: If you use your camcorder at the beach, clean it as soon as possible. Salt and sand can cause lasting damage.

Troubleshooting: Signs Your Camcorder Needs More Than Cleaning
Sometimes, cleaning isn’t enough. Watch for these problems:
- Blurry images after cleaning the lens: The lens may be scratched or have internal dust. Professional help is needed.
- Buttons not working: Could be internal damage or spilled liquid.
- Strange sounds from the lens: May signal motor or mechanism problems.
- Error messages or frequent crashes: Could be a firmware or hardware issue.
If you see these signs, don’t try to fix them yourself. Take your camcorder to a certified repair center.
Comparing Diy And Professional Cleaning
Some people wonder if professional cleaning is worth the cost. Here’s a look at the differences:
| DIY Cleaning | Professional Cleaning |
|---|---|
| – Inexpensive – Good for regular upkeep – Handles surface dirt and dust |
– Costs $50–$150 – Cleans inside parts – Fixes minor issues – Recommended yearly for heavy users |
| – Can miss internal problems – Risk of accidental damage if done carelessly |
– Done by experts – Reduces risk of future problems |
For most people, DIY cleaning is enough if done regularly. But if you use your camcorder often or in tough environments, professional servicing every year or two is a smart investment.
How Environment Affects Camcorder Maintenance
Where and how you use your camcorder matters. Dusty, sandy, or humid places require more frequent cleaning. For example, after filming at the beach, salt and sand can get inside moving parts. In humid areas, fungus can grow on the lens if the camcorder is not dried and stored well.
If you travel often, bring cleaning tools and keep your camcorder in a sealed plastic bag when not in use. Always let it adjust to room temperature before opening, to avoid condensation inside.
Two Insights Beginners Often Miss
- Lens fungus is a real risk in humid climates. Even a tiny bit of moisture left on the lens can cause fungus that ruins image quality. Always dry your camcorder well and use silica gel packs in your case.
- Memory card contacts need care. Dirty contacts can cause recording errors. Wipe them gently with a dry microfiber cloth every few months.
Frequently Asked Questions
What Is The Safest Way To Clean A Camcorder Lens?
The safest way is to use a blower or soft brush to remove loose dust, then wipe the lens gently with a microfiber cloth and a drop of lens cleaning solution. Never use your shirt, paper towels, or household cleaners. Always wipe in a circular motion from the center outward.

Can I Use Alcohol Wipes To Clean My Camcorder?
You can use isopropyl alcohol wipes (70% or less) for the camcorder body, but avoid them on the lens or LCD screen. Alcohol can damage special coatings. Use only camera-safe wipes or microfiber cloths for the lens and screen.
How Do I Prevent Lens Fungus?
Store your camcorder in a dry, cool place with silica gel packs. After using it in humid areas, let it dry out with the battery removed and the compartments open. Avoid leaving it in a closed, damp case for long periods.
How Often Should I Get My Camcorder Professionally Cleaned?
For regular users, once a year is enough. If you use your camcorder professionally, or in tough environments, consider servicing every 6–12 months. DIY cleaning is fine for routine care, but professionals can handle deep cleaning and small repairs.
What Should I Do If My Camcorder Gets Wet?
Turn it off immediately, remove the battery and memory card, and dry all parts with a soft cloth. Do not use a hair dryer or heat. Leave the camcorder in a dry place with silica gel packs for at least 48 hours.
If it shows problems after drying, contact a service center.
Caring for your camcorder does not need to be complicated or expensive. With the right tools, careful habits, and a little attention to detail, your device can deliver beautiful videos and last for many years. If you want more detailed advice, check out resources from manufacturers or trusted guides like B&H Photo Video. Your camcorder is an investment—protect it with simple, regular care, and it will reward you with clear, memorable footage every time you press record.
