I’ve spent many nights under the stars, testing gear from budget monoculars to premium glass. If you’re wondering which monocular is best for stargazing, you’re in the right place. Here’s the clear truth: for most people, a 10×50 or 12×56 monocular with quality optics offers the best view of the night sky. In this guide, I’ll explain why that setup works so well, how to choose the right model, and the small details that make a big difference. You’ll leave ready to pick a monocular that actually delivers.

What Makes A Monocular Good For Stargazing
Monoculars are light, simple, and fast to use. That is why many stargazers carry one even if they own binoculars or a telescope. But not all monoculars do well at night. You need light, stability, and sharp optics.
Here is what matters most for the night sky:
- Aperture: The front lens size. Bigger lenses pull in more light. For stars, 50 to 56 mm is a sweet spot.
- Magnification: 8x to 12x is best for hand use. More power looks tempting but is shaky without a tripod.
- Exit pupil: This is aperture divided by magnification. Aim for 4 to 6 mm for night use. A 10×50 gives 5 mm, which matches many dark-adapted eyes.
- Glass and coatings: ED glass cuts color fringing on bright objects like the Moon. Fully multi-coated lenses boost contrast. Phase-corrected BaK-4 roof prisms keep the image sharp and bright.
- Eye relief: If you wear glasses, aim for 15 mm or more so you can see the full field.
- Weather sealing: Fog-proof and waterproof bodies last longer and stay clear.
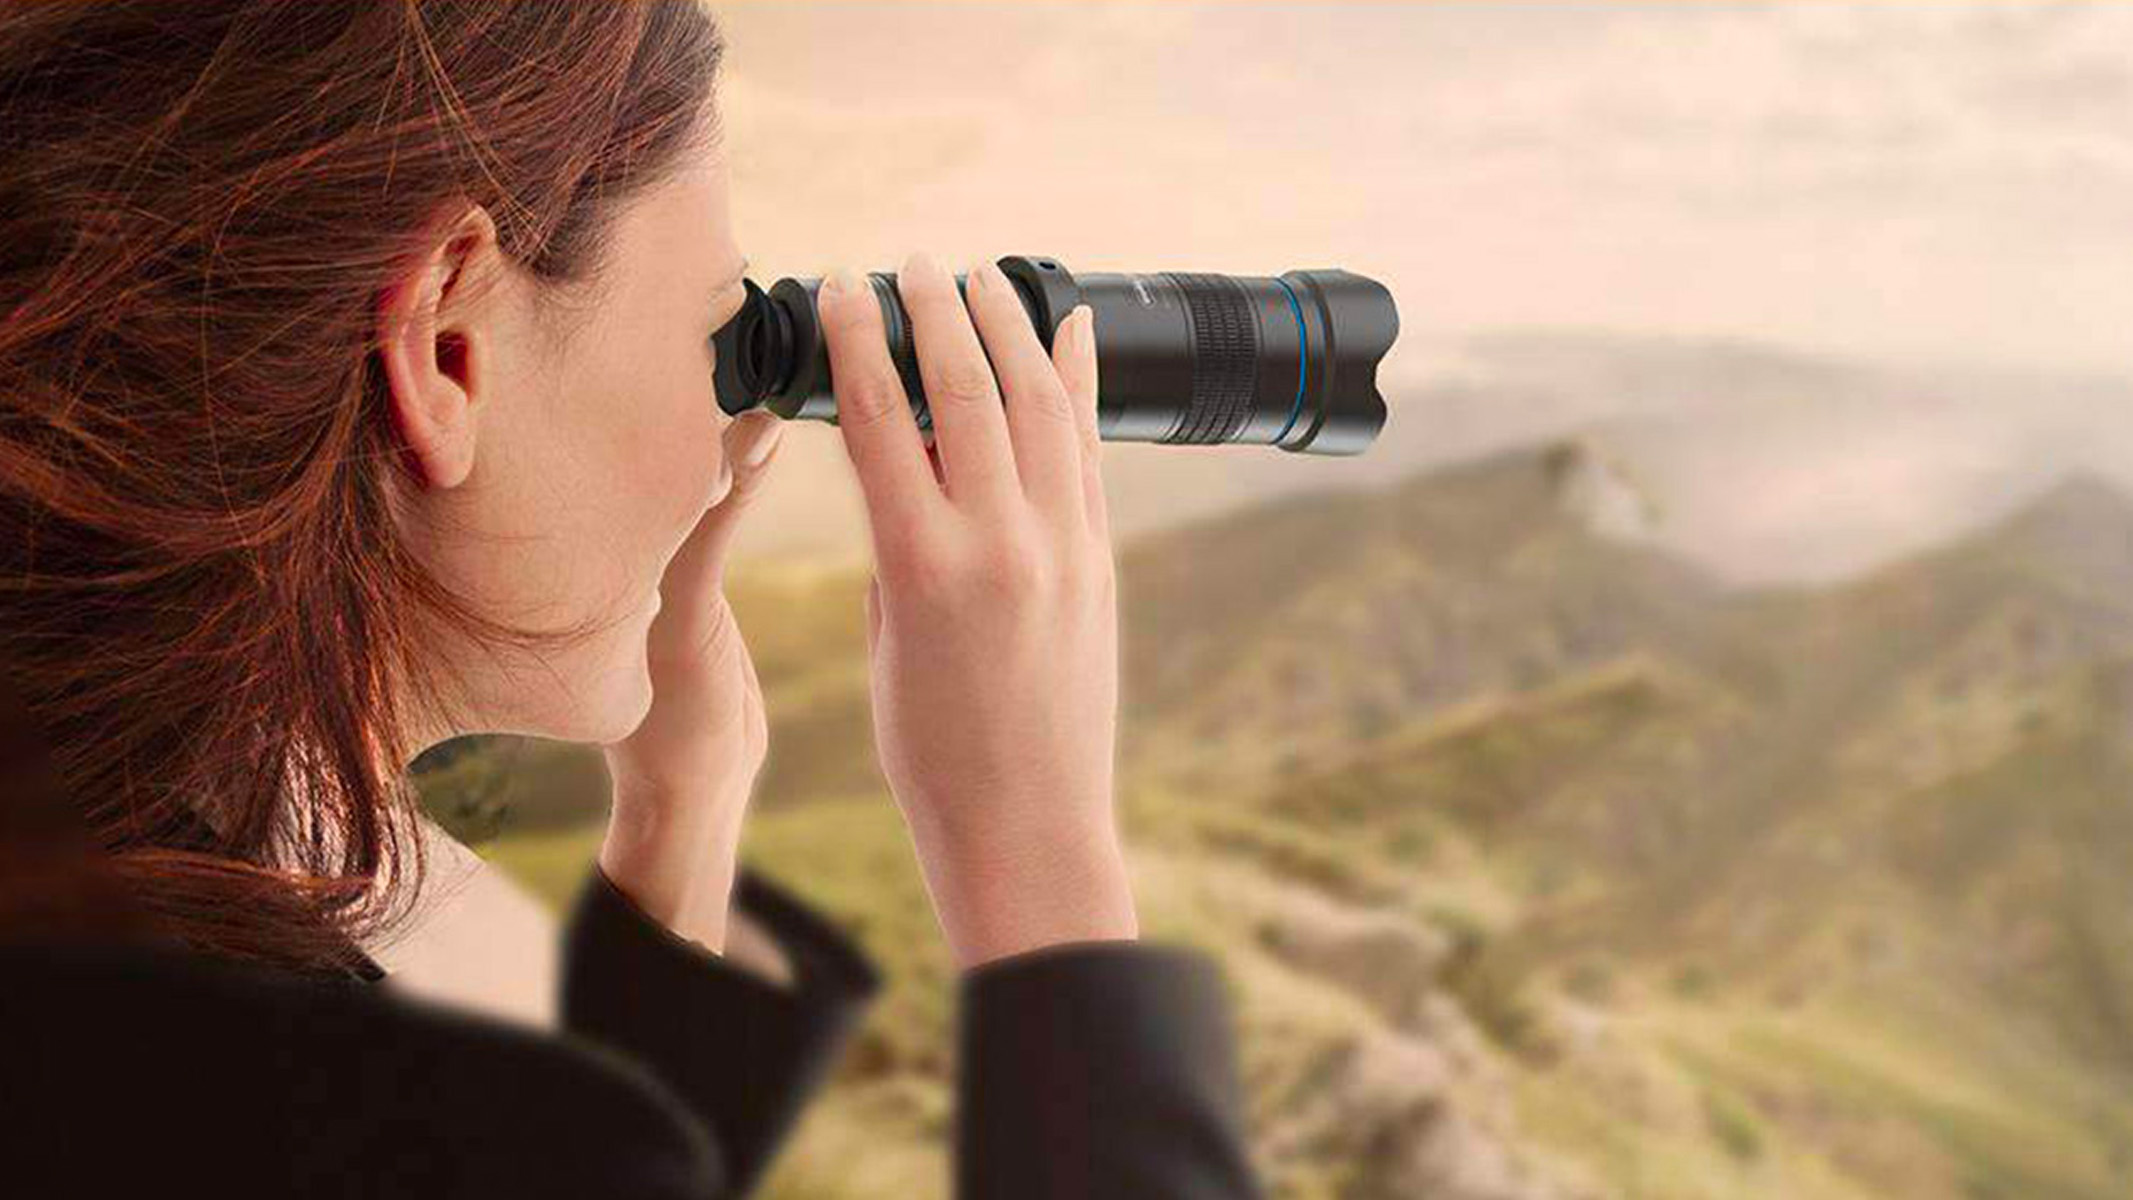
Key Specs, Explained In Plain English
Magnification (8x, 10x, 12x): Higher power shows more detail but shakes more. Each step up also dims the image a bit. That is why 10x hits a sweet balance for many users.
Aperture (objective size): 42 mm is okay for casual sky scans. 50 to 56 mm is better for deep sky fuzzies like the Andromeda Galaxy or the Pleiades.
Exit pupil: A 5 mm exit pupil (for example, 10×50) gives a bright image at night for most adults. If your pupil cannot open to that size, extra light is wasted. But you still want something near that range for comfort and brightness.
Prism type: BaK-4 roof prisms with phase coating give the best edge-to-edge sharpness and light throughput in compact bodies. Porro prisms can be bright and cheaper, but they are less common in monoculars.
Coatings: Look for “fully multi-coated.” That means every air-to-glass surface has many layers to reduce glare and boost contrast.
ED glass: Helps keep stars tight and white, not smeared with purple or green fringes at the edge.
Field of view: Wider fields make it easier to sweep the Milky Way and find clusters. As a guide, 300+ feet at 1000 yards (or 6–7 degrees) feels roomy at 8x–10x.
Focus wheel and diopter: A smooth, grippy focus wheel helps with fine detail on the Moon. A diopter lets you tune for your eyes, which is key for sharp stars.

The Best Power And Size For Night Sky Use
If you want a fast, all-around pick, go for a 10×50. It offers a bright 5 mm exit pupil, a steady view by hand, and nice reach for craters and star clusters. If you crave a bit more reach and have steady hands or a tripod, pick a 12×56. You get a 4.7 mm exit pupil and more lunar detail.
Good combos I recommend:
- 8×42: Very steady, wide view, best for beginners and wide Milky Way sweeps.
- 10×50: Best balance of light and detail for most users.
- 12×56: Great if you can stabilize it. Shows more detail on the Moon and bright clusters.
What to avoid:
- Tiny objectives like 25–32 mm for serious night work. Too dim for deep sky.
- Ultra-high power like 15x–20x without a tripod. You will fight shake and blur.

Recommended Picks By Budget And Use
These picks reflect what has worked for me and many hobbyists. Models change often, so use the specs as your guide.
Best value for most people:
- 10×50 with BaK-4 roof prisms, fully multi-coated, 15 mm+ eye relief, tripod socket. Many mid-range brands offer this. Great for Moon, Orion’s Belt, and Pleiades.
Steady hands or tripod users:
- 12×56 ED glass, phase-coated. Great contrast and tight stars. Better for lunar detail, globular clusters, and bright nebulae.
Wide sweeps and beginners:
- 8×42 with wide field, good coatings. Super easy to hand-hold and navigate constellations.
Premium option:
- 10×50 or 12×56 with ED glass, dielectric prism coatings, metal focus wheel, and robust sealing. Costs more, but low-glare views and crisp stars stand out on the Moon’s limb and bright doubles.
Travel and hiking:
- 8×32 or 8×36 with good coatings. Not ideal for deep night, but great as a light do-it-all optic when weight matters.
A note on brands: Pick makers that list full specs, offer a solid warranty, and have real user reviews. Favor models that state ED glass, phase coating, and fully multi-coated lenses. If a brand hides specs, skip it.
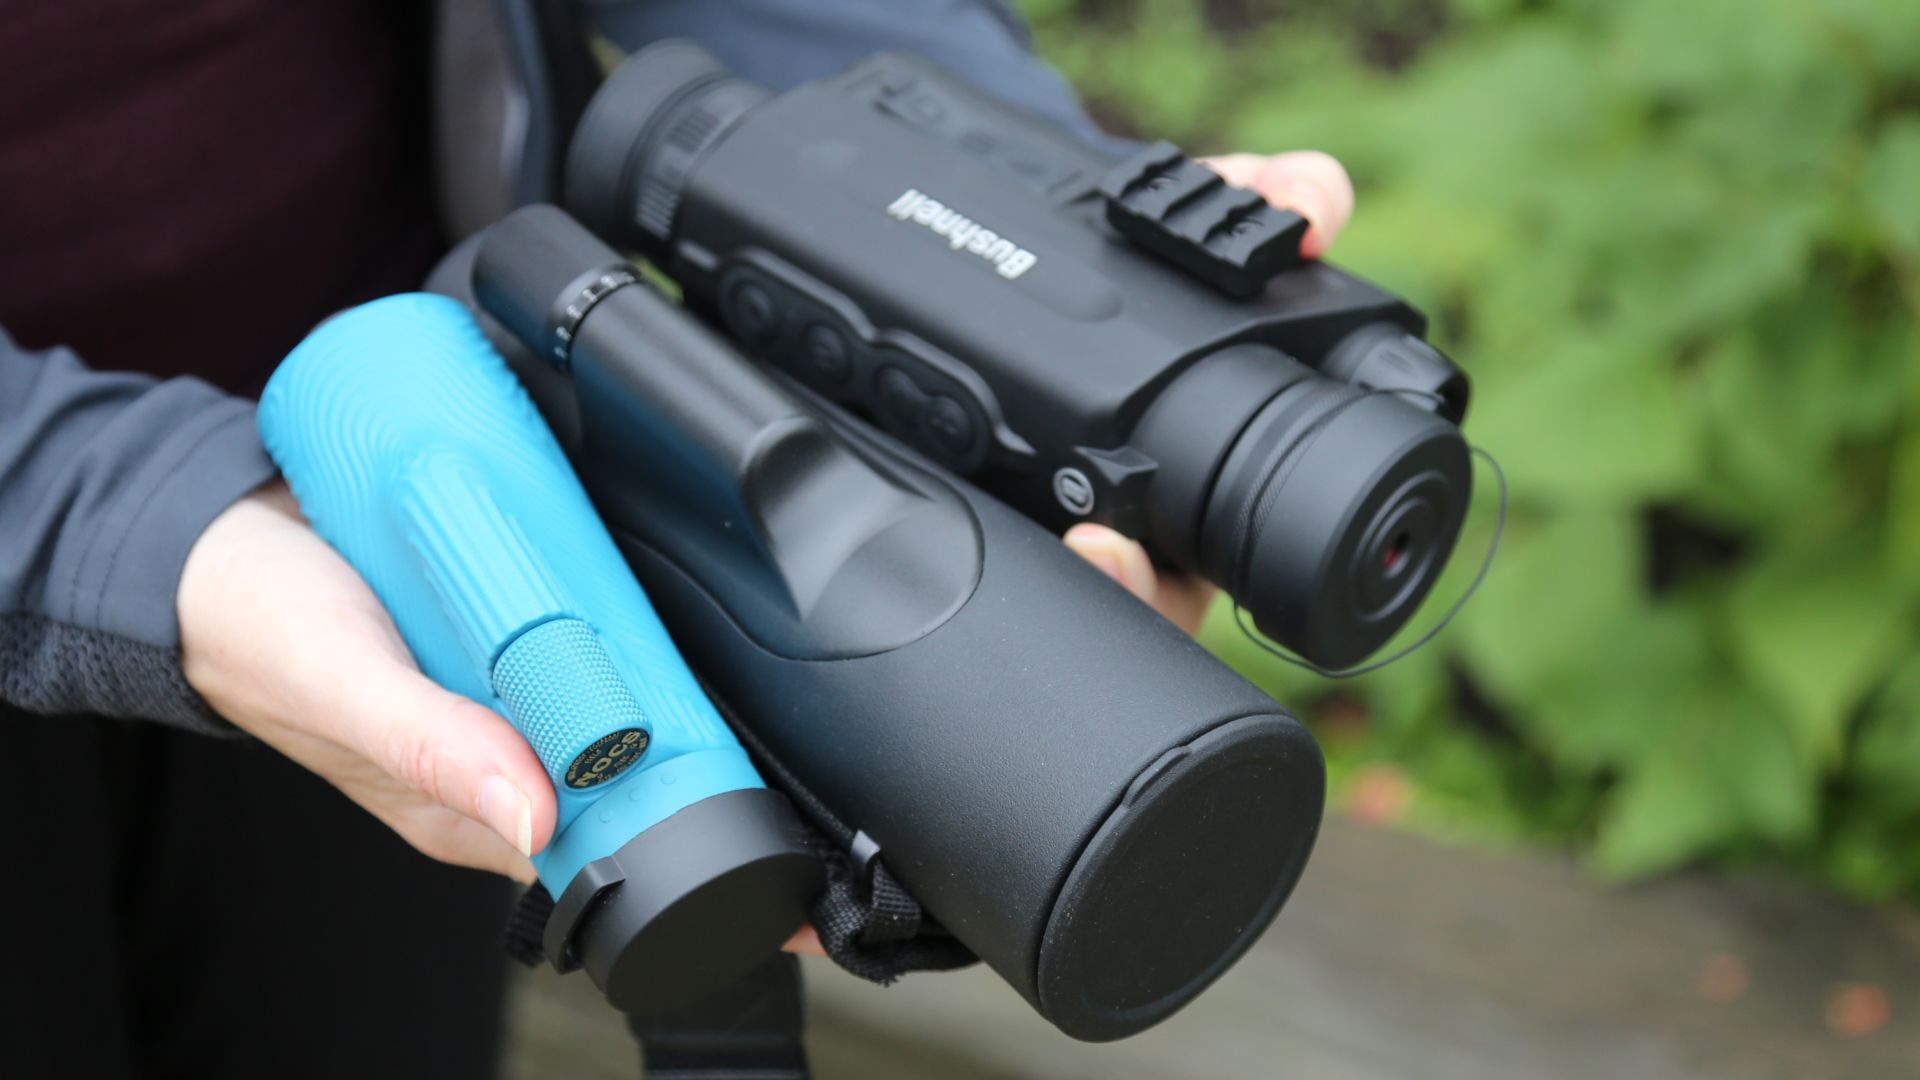
How To Get A Better Night Sky View With A Monocular
Stabilize first. Brace your elbows on a railing or car roof. Sit down and rest your back. This cuts shake a lot. For longer looks, use a mini tripod or monopod.
Let your eyes adapt. Give yourself 20–30 minutes in dark conditions. Use a red light. Avoid phone screens. The darker your eyes, the more you will see.
Focus with care. Start with a bright star or the Moon’s edge. Turn the wheel until stars look like tiny points. If you wear glasses, adjust the diopter, then leave it set.
Scan smart. Use a low-to-high sweep across a constellation. Look slightly off to the side of faint objects. This trick, called averted vision, makes dim targets pop.
Track conditions. On hazy or humid nights, contrast drops. On steady, cool nights, the Moon looks razor sharp. If stars twinkle hard, high magnification will show the shake more.

Useful Accessories And Simple Upgrades
A few small tools make a big difference at night:
- Tripod or monopod: A compact photo tripod with a simple ball head works well. A monopod is fast and light.
- Smartphone adapter: Fun for Moon shots. Keep expectations modest, but it is great for sharing.
- Red flashlight: Protects night vision while you read charts or tweak settings.
- Dew control: A soft lens hood helps a bit. Keep a clean microfiber cloth handy.
- Carry strap and case: Protect your optic and keep it ready at night.
If your monocular allows filters, a neutral-density or polarizing filter can soften glare on the Moon. Not a must, but helpful for comfort on bright lunar nights.
Frequently Asked Questions of Which monocular is best for stargazing?
Is a monocular or binocular better for stargazing?
For comfort and depth, binoculars win for most users. But a monocular is lighter, cheaper, and faster to pack. If you hike a lot or want a quick look, a monocular is great. For long sessions, binoculars are easier on the eyes.
What magnification is best for a stargazing monocular?
Stick to 8x–12x. 10x is the best balance for most people. Higher power needs a tripod to keep the view steady.
Is 10×50 good for astronomy?
Yes. A 10×50 gives a bright 5 mm exit pupil, solid reach, and good hand-held stability. It is the most versatile choice for beginners and regular users.
Do I need ED glass and phase coating?
You do not need them, but they help. ED glass sharpens bright edges, like the Moon. Phase coating improves contrast and detail. If you can afford these upgrades, you will see the benefit.
Can I see planets with a monocular?
You can see Jupiter’s moons as tiny points and Saturn’s ring hint as an oval at 10x–12x. You will not get big, detailed views. For that, you need a telescope. But the Moon, clusters, and bright nebulae look great.
What is the best budget monocular for night use?
Pick one with at least 42 mm objective, fully multi-coated lenses, and BaK-4 prisms. A 10×50 budget model with a tripod socket offers strong value.
Do I need a tripod?
It is not required, but it helps a lot at 10x and above. A light travel tripod or monopod can transform your view, especially for the Moon.
Conclusion
If you want a simple, reliable answer to which monocular is best for stargazing, choose a well-made 10×50. It gives a bright view, steady hand-held use, and real detail on the Moon and bright clusters. If you add a small tripod, a 12×56 can take you a step deeper.
Start with clear goals, pick solid specs, and focus on build and coatings. Then get outside and use it. The night sky rewards practice. If you are ready to shop, use the checklists above, compare a few models, and pick the one that fits your hands and your nights.
Want more? Subscribe for gear tests, ask questions in the comments, and share your night sky wins with the community.

