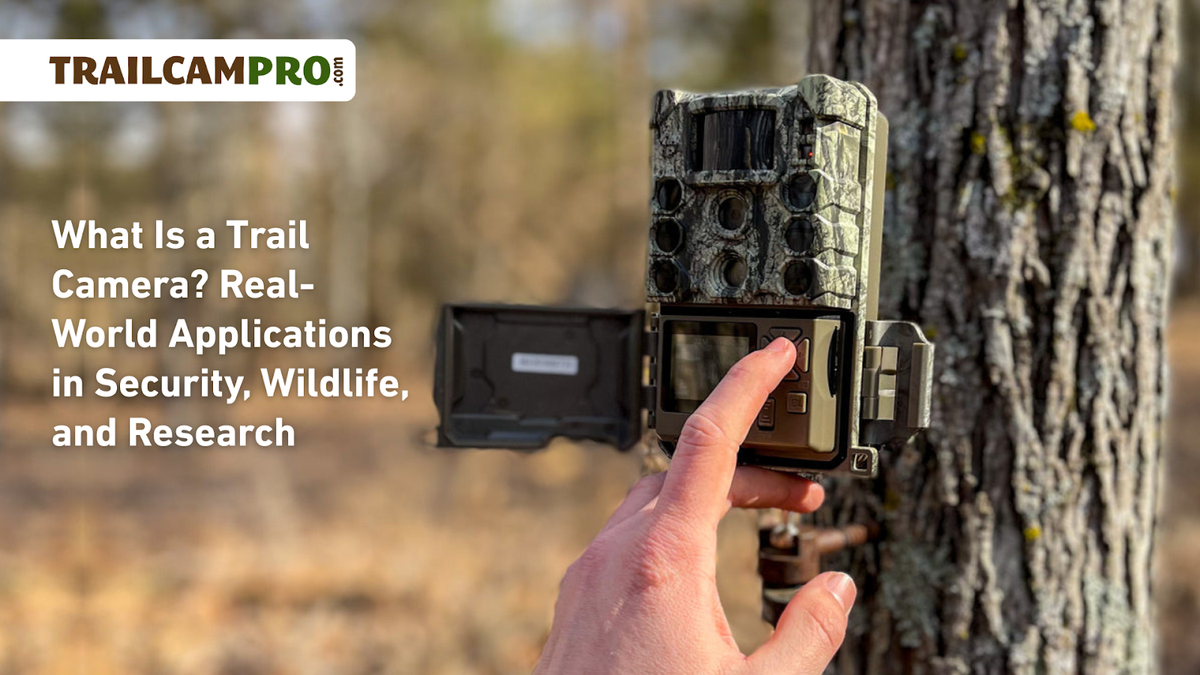
Are you looking for a simple yet effective way to boost your property’s security? Using a trail camera might be the answer you didn’t know you needed.
These cameras are easy to set up, work silently, and capture clear images of any movement. Imagine having a reliable watchful eye that never sleeps, catching anything suspicious before it becomes a problem. You’ll discover exactly how to use a trail camera to protect your home or land, step by step.
Keep reading to learn how to turn this handy tool into your personal security guard.
Choosing The Right Trail Camera
Choosing the right trail camera is important for effective security. A good camera captures clear images and works well in different conditions. It helps you monitor your property quietly and efficiently. Understanding the types, features, and budget can make your choice easier.
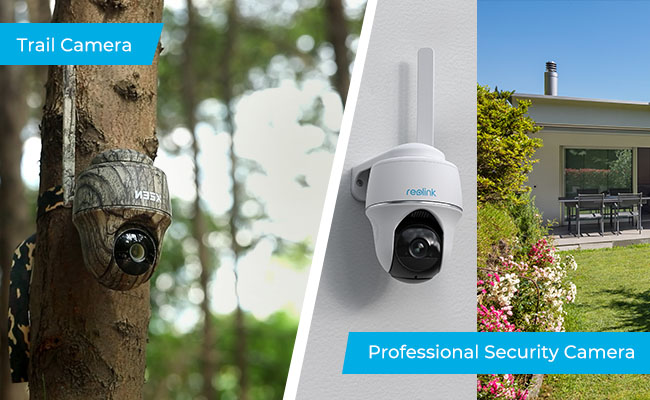
Types Of Trail Cameras
There are several types of trail cameras available. Basic models capture photos only. Others record videos or both photos and videos. Some cameras use infrared light for night vision. Wireless cameras send images directly to your phone or email. Choose a type that fits your security needs.
Key Features To Look For
Look for cameras with fast trigger speed. This captures movement quickly without missing any action. Good image resolution is important for clear photos. Night vision ability is essential for 24/7 security. Long battery life helps the camera run longer. Weatherproof design ensures the camera works in rain or snow. Motion detection range affects how far the camera can sense movement.
Budget Considerations
Trail cameras come in many price ranges. Basic models cost less but may lack advanced features. Higher-priced cameras offer better image quality and more functions. Decide your budget before buying. Balance cost with the features you need for security. Spending a bit more can improve your camera’s performance and reliability.
Setting Up Your Trail Camera
Setting up your trail camera correctly is key to capturing clear and useful images. A well-placed camera records activity without missing important moments. This section guides you through choosing the spot, mounting the camera, and adjusting settings for security use.
Selecting The Best Location
Choose a spot with good visibility of the area to monitor. Look for places where people or animals often pass. Avoid direct sunlight or areas with moving branches. A stable background helps the camera focus better. Aim the camera slightly downward to catch movement clearly.
Mounting Techniques
Use straps or brackets to secure the camera tightly to a tree or post. Place the camera about three to five feet off the ground. Ensure it is steady to prevent blurry pictures. Point the camera away from busy roads or paths to reduce false triggers. Check the angle and adjust if needed before finalizing.
Adjusting Camera Settings
Set the camera to take photos or videos based on your preference. Adjust the sensitivity to avoid too many false alarms from small animals or wind. Choose a delay time between shots to save battery and memory. Use night vision or infrared mode for clear images in the dark. Test the settings during the day to confirm everything works well.
Optimizing Camera Performance
Optimizing your trail camera’s performance is essential for effective security monitoring. Proper setup and maintenance help capture clear images and videos. It also ensures the camera works longer without interruptions. Focus on power, storage, and protection to get the best results.
Power Sources And Battery Life
Choose the right power source for your camera. Most trail cameras use AA batteries or rechargeable packs. Use high-quality batteries to avoid frequent replacements. Solar panels can provide continuous power in sunny areas. Monitor battery levels regularly to prevent camera shutdowns. Turning off unnecessary features saves battery life.
Memory And Storage Options
Use a memory card with enough space for photos and videos. Most cameras support SD or microSD cards. Pick cards with faster write speeds to avoid delays. Check storage often and replace full cards to keep recording. Some cameras allow cloud storage for easier access. Back up your files regularly to prevent data loss.
Weatherproofing Tips
Protect your camera from rain, snow, and dust. Choose a weatherproof camera designed for outdoor use. Use protective cases or covers for extra safety. Avoid placing the camera in direct sunlight for long periods. Clear debris around the camera to prevent damage. Regularly inspect the camera for cracks or wear.
Monitoring And Managing Footage
Monitoring and managing footage is key to using a trail camera for security. It helps you see what happens around your property. Proper management makes sure you don’t miss important events. It also keeps your video files organized and easy to access. This section explains how to handle the footage effectively.
Retrieving Data
Start by removing the memory card from the trail camera. Insert it into a computer or card reader. Copy the videos and photos to your device. Check the files for any important activity. Keep the original files safe on the card or back them up on your computer. Do this regularly to avoid losing data.
Using Wireless And Cellular Features
Some trail cameras have wireless or cellular options. These let you receive images without visiting the camera. Set up the camera to send alerts or photos to your phone or email. This saves time and keeps you updated fast. Make sure the camera has good signal coverage. Wireless features work best in areas with strong network signals.
Analyzing And Organizing Videos
Review your videos to find key moments. Use simple software to watch and sort clips. Label files by date, time, or event type. This makes searching easier later. Delete unwanted footage to save space. Keep your library neat for quick access. Organized files help you act quickly if needed.
Enhancing Security With Trail Cameras
Trail cameras offer a simple way to boost security around homes or properties. They capture photos or videos of any movement. This helps catch intruders or suspicious activity quickly. Using trail cameras can give you peace of mind and better control over your property’s safety.
These cameras work well alone or with other security tools. They are easy to install and operate without needing constant attention. Their night vision and motion sensors make them effective at all times.
Integrating With Other Security Systems
Trail cameras fit well with alarms and smart home devices. Connecting cameras to a central system lets you get alerts on your phone. This allows instant checks of any triggered event. Combining video footage with alarms increases the chance of stopping threats early. It also helps security teams respond faster to incidents.
Legal Considerations
Knowing the laws about trail cameras is important. Avoid placing cameras where they can invade neighbors’ privacy. Only record areas you own or control. Inform visitors if cameras are active on your property. Check local rules about audio recording, as it may be illegal in some places. Following laws helps prevent legal trouble and keeps you safe.
Preventing Theft And Vandalism
Visible trail cameras can scare off thieves and vandals. They act as a warning sign that your property is monitored. Secure cameras in hard-to-reach spots to avoid tampering. Regularly check footage to spot any suspicious activity early. This helps stop crimes before they happen or catch the culprits afterward.

Troubleshooting Common Issues
Troubleshooting common issues is key to using a trail camera effectively for security. Small problems can stop the camera from working right. Fixing these issues helps keep your property safe and monitored. This section covers typical problems and easy fixes for each.
False Triggers
False triggers happen when the camera takes pictures without a real target. Moving branches, animals, or changes in sunlight can cause this. Clear the area around the camera from plants that may move. Adjust the camera angle to avoid direct sunlight or heat sources. Some cameras allow sensitivity settings—lowering it can reduce false triggers.
Camera Malfunctions
Cameras may stop working due to battery, memory, or hardware problems. Check the batteries first; weak batteries cause many issues. Use fresh, high-quality batteries for better performance. Make sure the memory card is inserted correctly and has enough space. Restart the camera to reset it. Clean the lens and sensor gently to avoid dirt blocking the view.
Improving Detection Range
Detection range is how far the camera senses movement. Place the camera at the right height, usually 3 to 4 feet above the ground. Avoid pointing the camera at wide open spaces without paths. Use trail cameras with better sensors for longer range. Keep the lens clean to avoid blurry images and missed detections.
Frequently Asked Questions
How Does A Trail Camera Enhance Home Security?
A trail camera captures motion-triggered images or videos, alerting you to intruders. It works day and night with infrared sensors. This helps monitor your property discreetly and provides evidence if needed, enhancing your home’s security effectively.
Where Should I Place A Trail Camera For Best Security?
Place trail cameras near entry points, driveways, or dark corners. Ensure they are mounted at a 3-6 feet height for clear capture. Position them to cover wide areas without obstructions for maximum security coverage and accurate motion detection.
Can Trail Cameras Work In Low Light Or Night?
Yes, most trail cameras use infrared LEDs for night vision. They capture clear images and videos even in complete darkness. This feature ensures 24/7 monitoring, making trail cameras highly effective for nighttime security.
How Do I Maintain A Trail Camera For Reliable Security?
Regularly check batteries and memory cards for optimal performance. Clean lenses to avoid blurry images. Update firmware if available. Proper maintenance ensures your trail camera functions reliably and continuously protects your property.
Conclusion
Trail cameras help you watch your property day and night. They catch movement and send alerts fast. Place the camera where it sees key spots clearly. Check the images often to stay updated. Choose a good model with clear pictures and long battery life.
Using a trail camera adds an extra layer of safety. It helps you feel more secure without being there. Simple steps make your security smarter and easier to manage. Stay aware, stay safe.
