If you love trails and new cities, you’ve likely wondered: are monoculars good for hiking and travel? Short answer: yes, for many people they’re the smartest, lightest way to see more with less bulk. I’ve tested compact optics on wet mountain trails, in crowded markets, and on wildlife walks. A good monocular helps you spot trail markers, wildlife, and distant landmarks without weighing you down. In this guide, I’ll share field-tested tips, key specs, and honest trade-offs so you can pick the right tool and use it well.

What Is a Monocular and How It Works
A monocular is a small telescope you use with one eye. It magnifies distant subjects, much like half a pair of binoculars. Most travel monoculars use roof or Porro prisms to flip the image right-side up. Common specs include 6x to 10x magnification and 18 mm to 42 mm objective lenses.
Key terms made simple:
- Magnification: How much closer things look. 8x makes a subject appear 8 times nearer.
- Objective diameter: The front lens size. Bigger lenses gather more light but add weight.
- Field of view: How wide the scene looks. Wider views help you find and track subjects.
- Exit pupil: Objective diameter divided by magnification. Larger exit pupils look brighter in low light.
- Eye relief: The distance your eye can be from the eyepiece and still see the full view. Important for glasses wearers.
In real use, a compact 8×25 or 8×32 monocular balances reach, brightness, and weight for hikers and travelers.
Pros And Cons Of Monoculars For Hiking And Travel
Benefits:
– Light and compact: Many weigh under 10 ounces and slide into a jacket pocket.
– Fast to deploy: One-hand use is easy while holding a trekking pole or phone.
– Budget friendly: A quality monocular often costs less than comparable binoculars.
– Discreet: Less conspicuous in cities and at viewpoints.
Trade-offs:
- Less stable at high power: Above 10x, hand shake becomes more noticeable.
- Narrower view than binoculars: One eye sees less context, which can slow scanning.
- Eye strain for long sessions: Extended glassing can tire one eye.
- Low-light limits: Small objectives dim faster at dusk than larger binoculars.
For quick looks on the move, monoculars shine. For long wildlife sessions, binoculars may feel more comfortable.
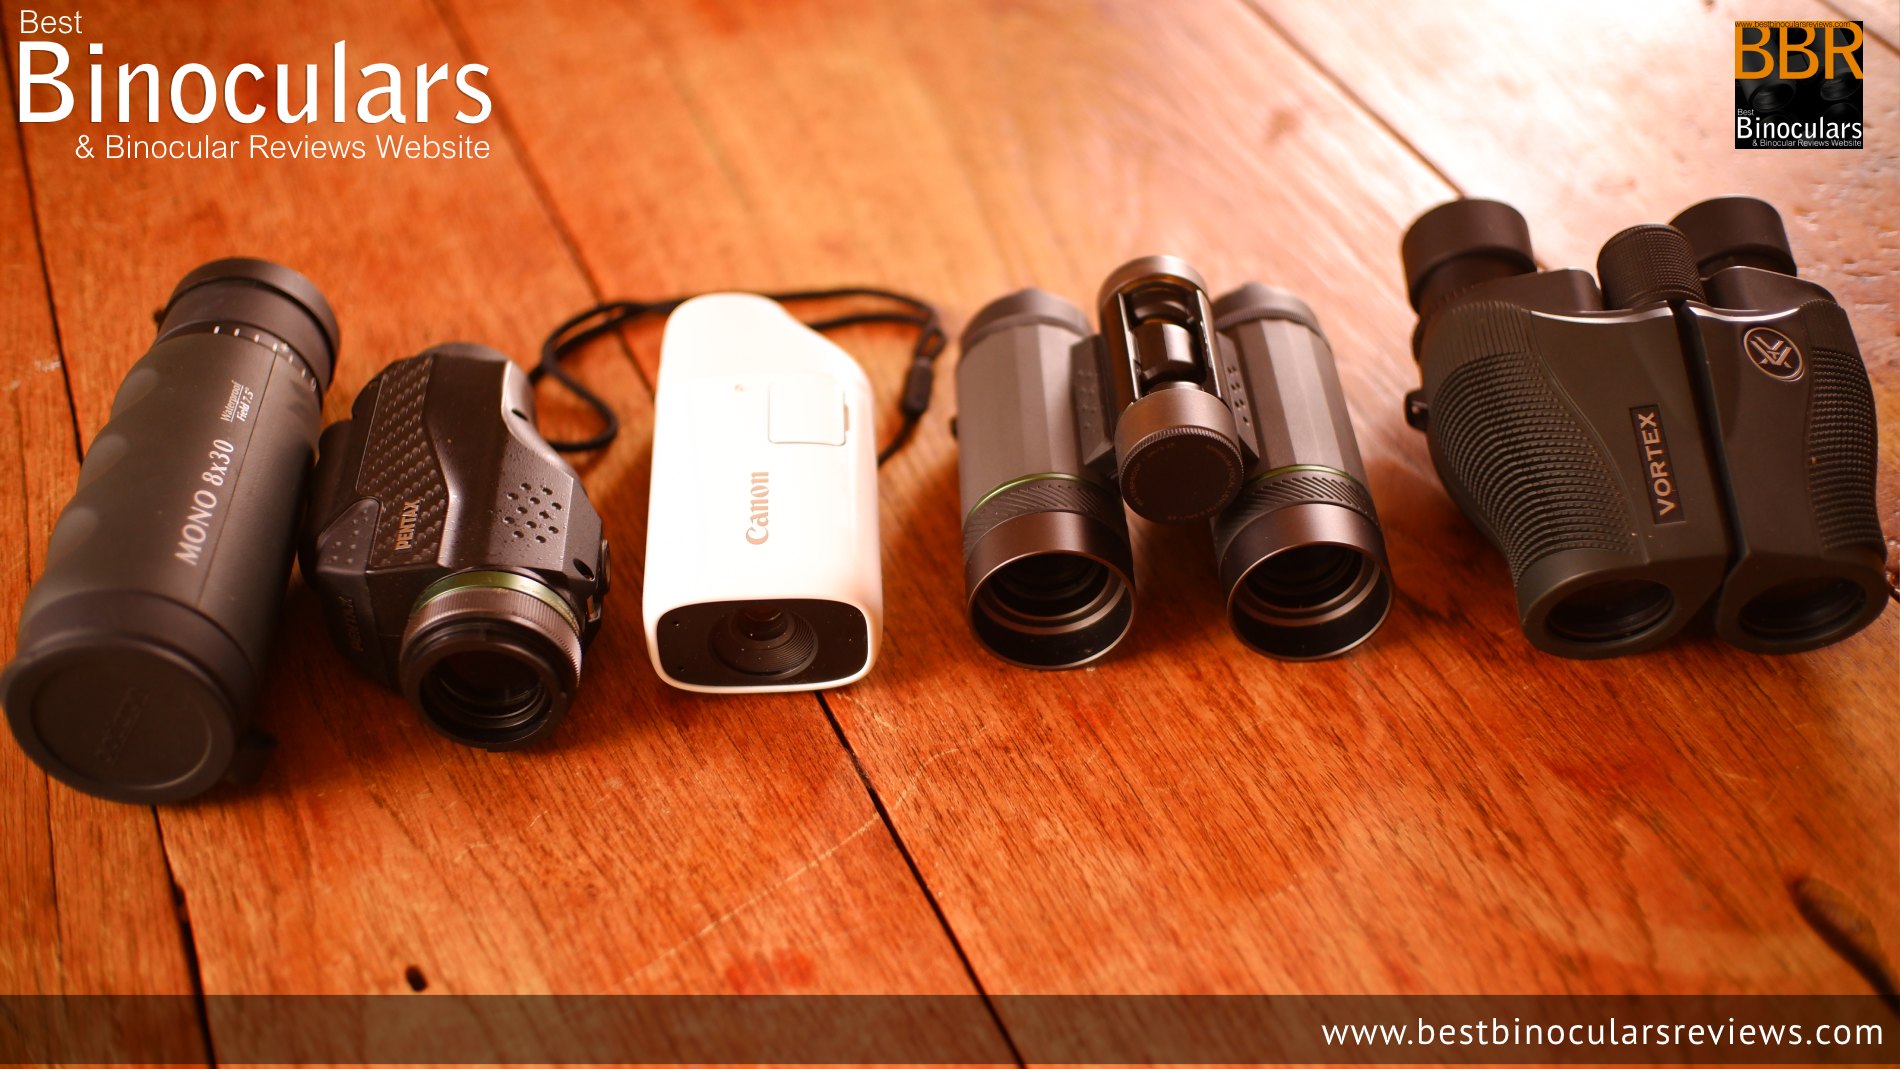
Monocular Vs Binoculars Vs Smartphone Zoom
Monocular:
– Best for weight savings and quick spotting.
– Great for solo hikers, urban explorers, and minimalist travelers.
Binoculars:
- Better depth perception and comfort for long viewing.
- Heavier and bulkier but ideal for birding and safaris.
Smartphone zoom:
- Digital zoom reduces detail and adds noise.
- Clip-on phone scopes exist, but setup is slower and alignment can be fussy.
My rule of thumb: carry a monocular for day hikes and city trips. Bring binoculars for dedicated wildlife days. Use your phone for photos, not for serious distant viewing.

How To Choose The Right Monocular
Start with these specs:
– Magnification: 6x to 8x is easiest to hold steady. 10x if you have steady hands or a support.
– Objective lens: 20 to 32 mm for travel. 36 to 42 mm for brighter views, with more weight.
– Field of view: Look for 330 to 400+ feet at 1000 yards on 8x for easier scanning.
– Eye relief: 15 mm or more if you wear glasses.
– Focus: A large, textured focus wheel or ring you can turn with gloves.
– Coatings and glass: Fully multi-coated optics and ED glass help contrast and sharpness.
– Waterproofing: IPX7 or nitrogen/argon purged for rain and fog.
– Close focus: Under 6 feet if you like butterflies, flowers, or museum details.
– Stabilization: Optional. Helps at 10x+, but adds weight and cost.
Weight sweet spots:
- Ultralight: 5 to 7 oz for minimalists.
- Balanced: 8 to 12 oz for brighter views and better handling.
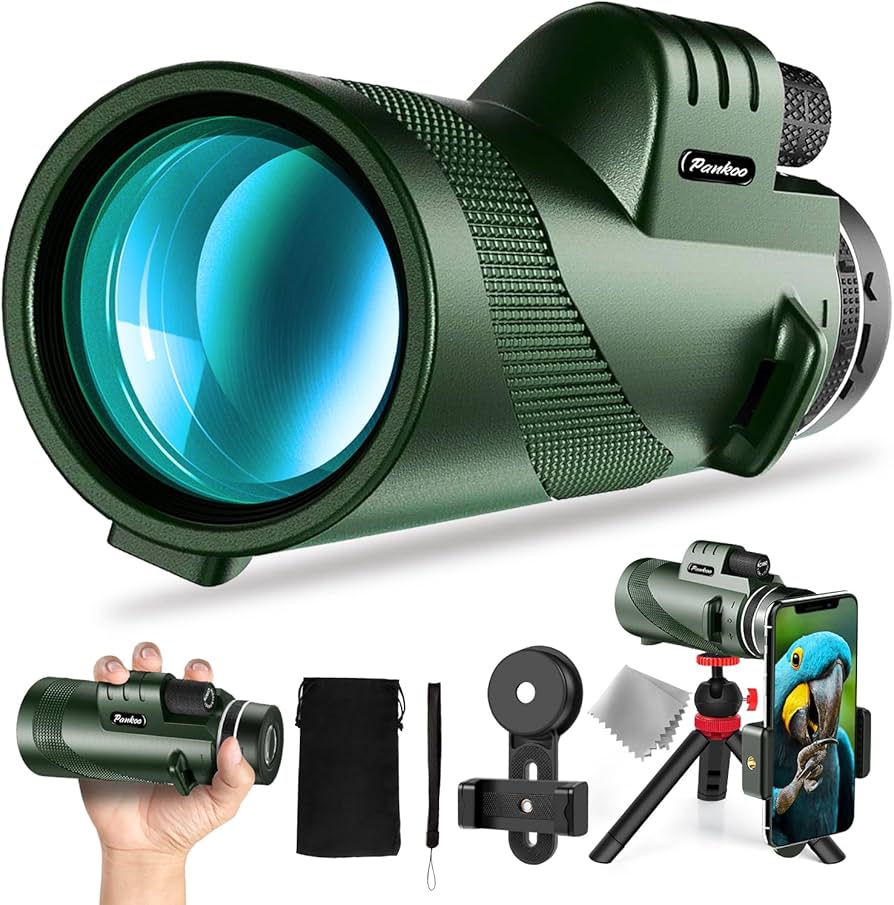
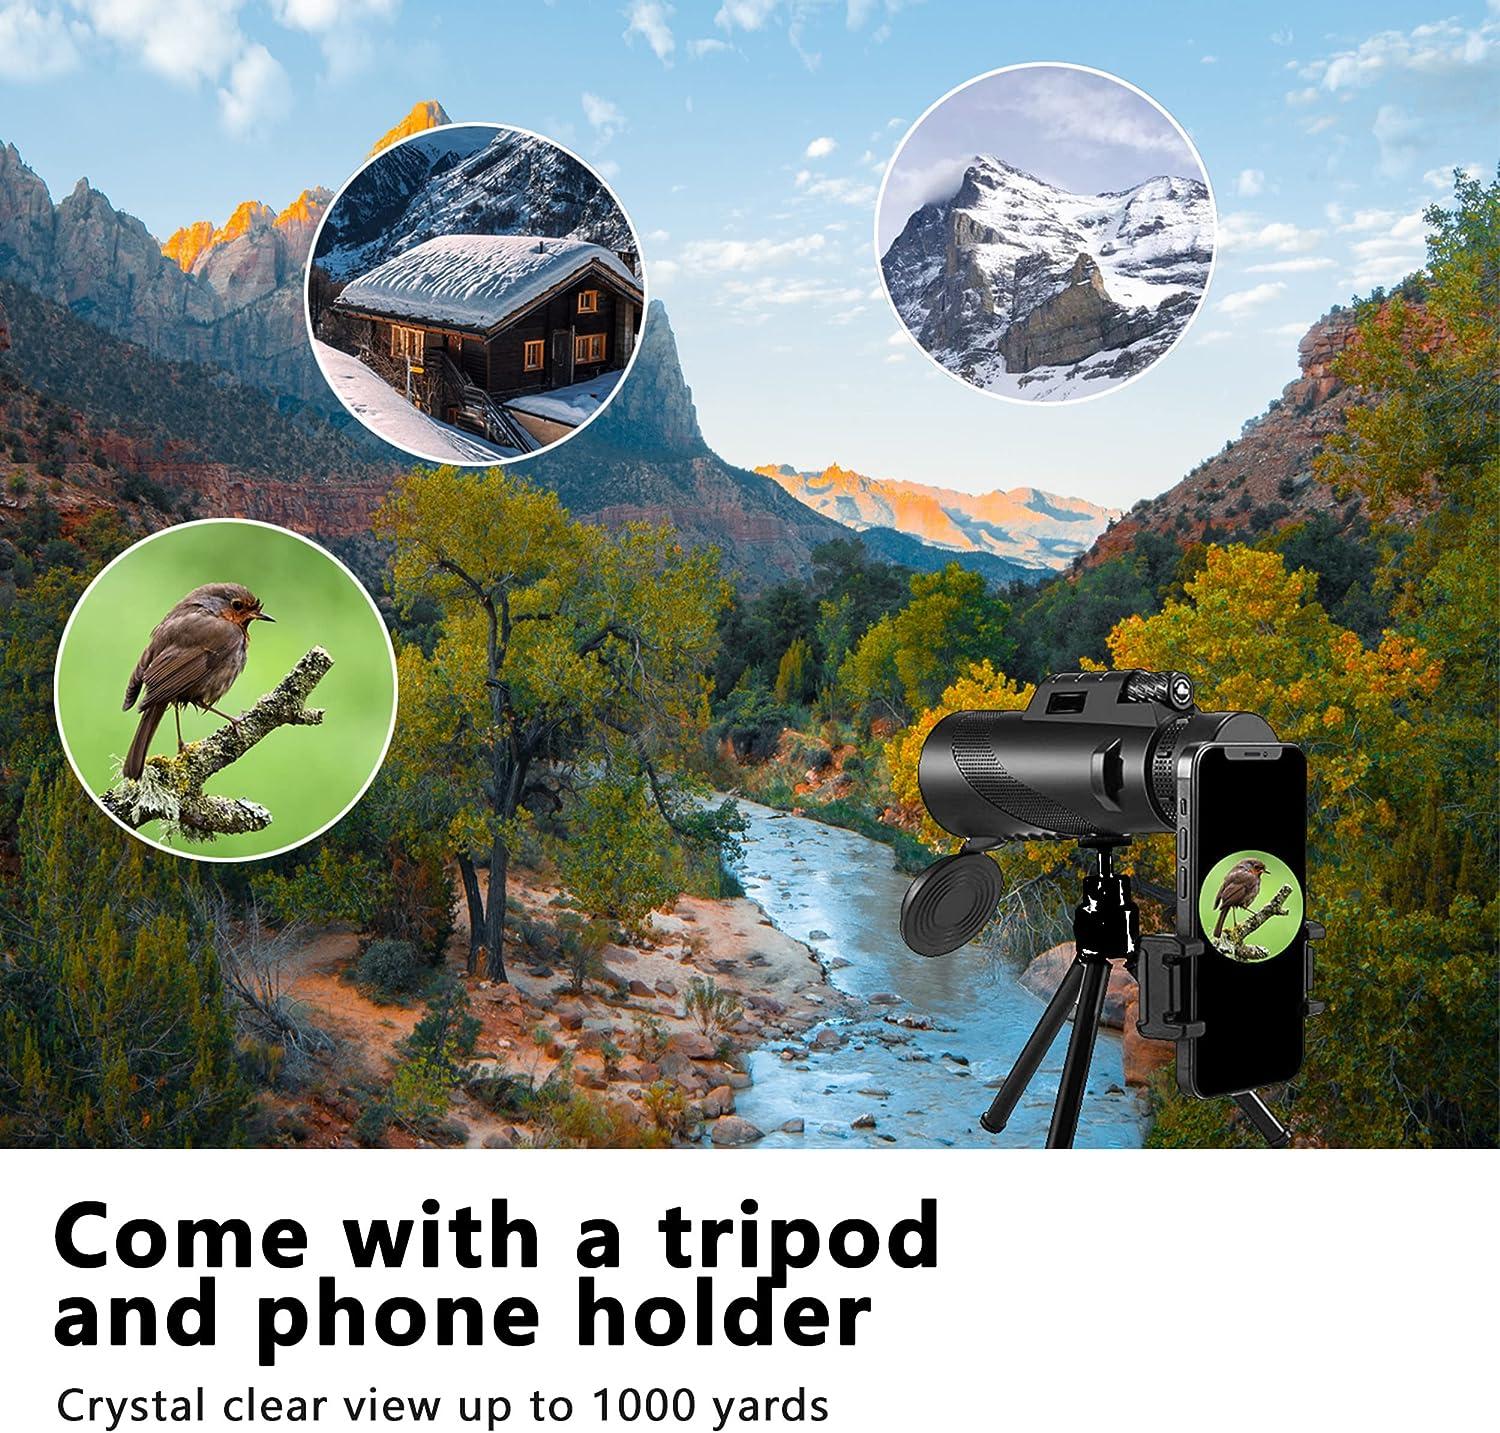
If you shoot with a phone, check if the monocular supports an adapter for digiscoping.
Real-World Use Cases And Tips From The Trail
On a foggy ridge hike, my 8×32 monocular helped me confirm the right saddle without pulling out a map in the wind. In a coastal town, I used it to read ferry schedules across the harbor from a café table. On a desert trip, it let me scan for cairns before the sun got harsh.
Practical tips:
- Brace your hand: Tuck your elbow into your chest or rest it on a trekking pole.
- Breathe, then hold: Exhale gently and pause your breath while you take a look.
- Use landmarks: Start with a big feature, then move to your target.
- Keep the diopter simple: Many monoculars don’t have one. If yours does, set it once and leave it.
- Night and dusk: Lower magnification with a larger objective looks brighter and steadier.
Small wins add up. A quick look can save a wrong turn or help you spot wildlife quietly from a distance.

Packing, Care, And Safety Tips
Pack smart:
– Use a soft pouch with a microfiber cloth.
– Keep it in an accessible pocket to encourage use.
– Add a short wrist lanyard to prevent drops.
Care basics:
- Blow off dust before wiping the lens.
- Use lens cleaner or pre-moistened wipes for smudges.
- Dry it after rain before sealing in a case.
Safety and ethics:
- Give wildlife space. Magnification is not a pass to get closer.
- Be discreet in urban areas where optics can draw attention.
- Respect local rules at concerts, museums, and historic sites.
Treat your monocular like a camera lens. A little care keeps the view crisp for years.

Budget And Recommended Specs By Scenario
Day hikes and city travel:
– 8×25 or 6×20
– Fully multi-coated, waterproof
– Weight under 8 oz
Mixed travel and nature:
- 8×32
- ED glass, wide field of view
- 8 to 12 oz
Low light or wildlife at distance:
- 10×36 or 10×42 if you can brace or use a mini tripod
- Good eye relief and grippy focus
- Waterproof and fogproof
Budget tiers:
- Entry: Solid optics, narrow view, basic coatings. Good for casual use.
- Mid: ED glass, brighter image, better ergonomics. Sweet spot for most.
- Premium: Top coatings, sharp edge-to-edge, rugged build. Worth it if you use it often.
You don’t need to overspend. Match the tool to your terrain, light, and style.

Common Mistakes To Avoid
– Chasing too much magnification: 12x looks tempting but shakes more in real life.
– Ignoring field of view: A narrow view makes it hard to find subjects.
– Skipping waterproofing: Weather happens. Sealed optics prevent fogging inside.
– Forgetting eye relief: If you wear glasses, short eye relief ruins the experience.
– Leaving it buried in your pack: If it’s hard to reach, you won’t use it.
Fix these, and your monocular becomes a constant companion, not dead weight.
Frequently Asked Questions Of Are Monoculars Good For Hiking And Travel?
What Magnification Is Best For Hiking?
Most hikers do well with 6x to 8x. It stays steady in the hand and gives a wider view, which helps you find and follow subjects.
Are Monoculars Better Than Binoculars For Travel?
They are better for light weight and quick looks. Binoculars are better for long viewing and depth perception. Pick based on how you plan to use them.
Can I Use A Monocular With Glasses?
Yes. Look for at least 15 mm of eye relief and a twist-up eyecup. Test to ensure you can see the full field without blackouts.
Is A 10x Monocular Too Shaky?
It can be for some people, especially when tired or windy. Use two hands, brace on a pole or railing, or consider 8x for steadier views.
Do I Need Waterproof And Fogproof Features?
For hiking and travel, yes. Weather and temperature changes cause fog. Sealed and purged optics handle rain and humidity better.
Can A Monocular Replace A Camera Zoom?
No. It helps you scout and compose, but you still need a camera or phone for photos. Some pair a phone adapter with a monocular for occasional shots.
What Size Is Best For Pockets?
An 8×25 or 6×20 usually fits jacket pockets and many hip belts. Check length and weight against your carry system.
Wrap-Up And Next Steps
Are monoculars good for hiking and travel? For most people, yes. They pack light, deploy fast, and help you see more without fuss. Choose 6x to 8x for ease, match the objective to your light needs, and insist on waterproofing. Practice steady techniques, keep it handy, and you’ll spot more trails, birds, and landmarks with less effort.
Ready to level up your view? Pick a spec set that fits your trips, test it on a local walk, and refine from there. Want more trail-tested tips? Subscribe, share your questions in the comments, and explore our other gear guides.
