Adobe Lightroom and Photoshop combo is the best editing software for wildlife photos for most shooters.

Exclusive Deals
Limited-time Exclusive Deals. Check current discount on Amazon.
Check Price on Amazon As an Amazon Associate I earn from qualifying purchases.I’ve spent years editing wildlife images for magazines and prints. I know the tools that save time and keep detail. This guide explains what editing software is best for wildlife photos. I show the pros and cons, real workflows, and tips I use in the field and at my desk. Read on to pick the right app for your style and budget.

Why editing matters for wildlife photos
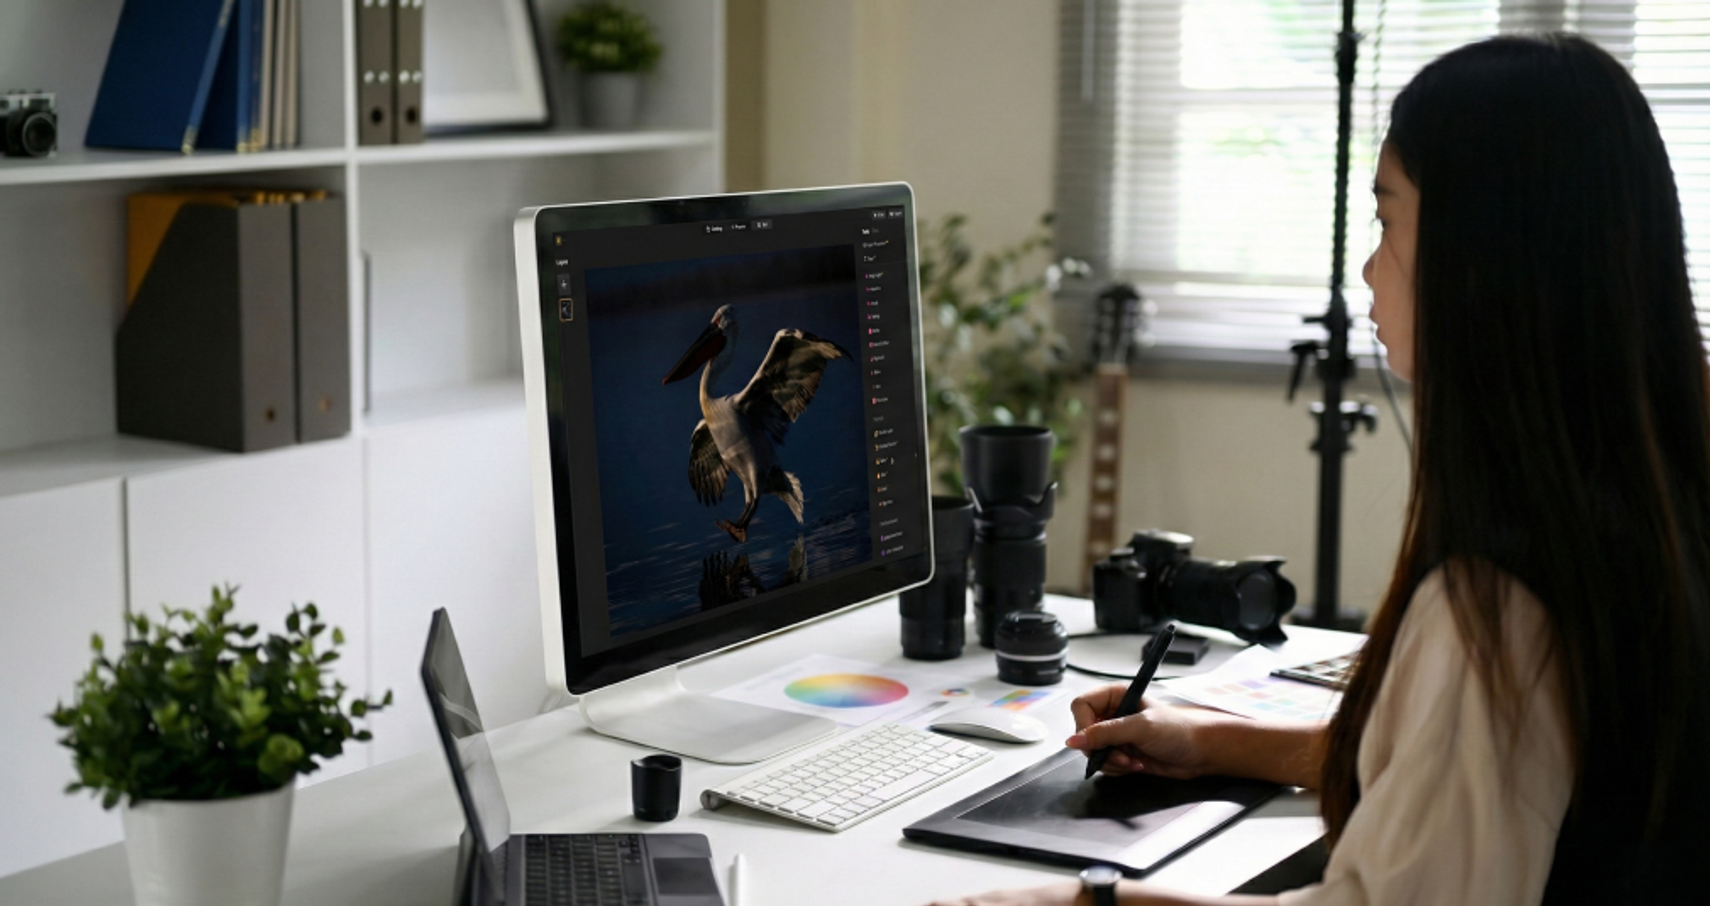
Editing turns a good capture into a striking image. Wild animals move. Light changes fast. Raw editing fixes exposure, recovers shadow detail, and tames noise. The right software can also sharpen eyes, isolate subjects, and keep feathers or fur natural.
Exclusive Deals
Limited-time Exclusive Deals. Check current discount on Amazon.
Check Price on Amazon As an Amazon Associate I earn from qualifying purchases.When you ask what editing software is best for wildlife photos you are really asking which tool helps you keep detail while working fast. I focus on speed, quality, and tools that help with noise reduction and masking. Those are the tasks that matter most in wildlife work.

Top editing software options for wildlife photos
Below are the most used apps. Each one has real strengths for wildlife work. Consider your workflow and goals when choosing.
Adobe Lightroom Classic
Exclusive Deals
Limited-time Exclusive Deals. Check current discount on Amazon.
Check Price on Amazon As an Amazon Associate I earn from qualifying purchases.- Strengths: Fast cataloging, batch edits, strong RAW processing.
- Best for: Photographers who edit many images per shoot.
- Note: Works great for quick noise control and global color.
Adobe Photoshop
- Strengths: Pixel-level control, advanced masking, layers, and retouching.
- Best for: Final composites, complex local edits, and fine detail work.
- Note: Combine with Lightroom for a full workflow.
Capture One
- Strengths: Excellent color rendering, tethering, and file handling.
- Best for: Professionals who need top RAW detail and precise color.
- Note: Great for bird and mammal images with subtle color shifts.
DxO PhotoLab
- Strengths: Superior noise reduction and lens corrections.
- Best for: Low-light shots and noisy high-ISO images.
- Note: The denoising engine is a big win for distant wildlife.
ON1 Photo RAW
- Strengths: All-in-one editing and effects, no subscription.
- Best for: Photographers who want a single app for everything.
- Note: Good balance of speed and tools.
Luminar Neo
- Strengths: AI tools for sky and subject masking.
- Best for: Fast creative edits and improving single images quickly.
- Note: Useful when you want quick subject isolation.
Affinity Photo
- Strengths: One-time purchase, strong retouch tools.
- Best for: Photoshop-like edits on a budget.
- Note: Good for layered composites and detail work.
GIMP
- Strengths: Free and open-source.
- Best for: Budget users who need pixel edits.
- Note: Lacks some RAW features compared to paid apps.
When you decide what editing software is best for wildlife photos, test a trial version first. Try the same RAW file in 2–3 apps to compare results and speed.
How to choose what editing software is best for wildlife photos
Pick a program that matches your needs. Use these criteria to compare options.
- Speed and batch tools: How fast can you process hundreds of images?
- RAW support: Does it fully support your camera’s RAW files?
- Noise reduction: Can it recover fine texture at high ISO?
- Local adjustments: Are masks and brushes precise and easy to use?
- Masking and selection: Does it isolate fur, feathers, or eyes cleanly?
- Cataloging and keywords: Can you organize large shoots?
- Compatibility: Does it work with plugins and other apps you use?
- Cost: Subscription versus one-time purchase and long-term expense.
When you ask what editing software is best for wildlife photos, weigh these factors by shooting style. I prefer cataloging and fast batch edits for long trips. Other pros favor top RAW detail and color first.
Recommended workflow and practical tips for wildlife editing
A clear workflow saves time and preserves image quality. Use these steps.
- Import and backup
- Import RAW files to a catalog.
- Make a backup copy before edits.
- Cull fast
- Use stars or color tags.
- Delete obvious misses and duplicates.
- Global corrections
- Set white balance and exposure.
- Adjust contrast and basic tone.
- Noise and detail
- Apply noise reduction first on soft areas.
- Use selective sharpening on eyes and beaks.
- Local adjustments
- Use masks to darken backgrounds or lift shadows.
- Use frequency separation only when needed for texture.
- Color and finishing
- Tweak saturation subtly.
- Use vignette and tone curve for mood.
- Export
- Export full-res for prints and resized for web.
- Keep a master TIFF or high-quality JPEG.
From experience, I often switch between Lightroom and Photoshop. Lightroom handles the batch work. Photoshop handles the fine edits. That combo answers many questions about what editing software is best for wildlife photos. Use presets carefully. They save time but can make images feel generic.

Plugins, presets, and AI tools that help wildlife edits
Add-ons can speed hard jobs. They help with denoise, sharpening, and subject masking.
- Specialized denoise plugins: Great for low-light shots and distant subjects.
- Sharpening tools: Eye and micro-detail sharpeners help bring life to fur and feathers.
- AI masking: Speeds up subject isolation for complex backgrounds.
- Presets: Use as starting points, then tweak for natural results.
- Local masking plugins: Add control beyond basic brushes.
I use a denoise tool when ISO is high. I add a subtle AI mask to protect fur. These tools can change which app is the answer to what editing software is best for wildlife photos for you. Try a few tools with your own RAW files before buying.
Cost, platform, and performance considerations
Your budget and computer matter. Editing wildlife photos needs horsepower for big files.
- Subscription vs one-time: Subscriptions give updates. One-time keeps costs down long term.
- GPU and CPU: A good GPU speeds AI denoise and sharpening.
- RAM and storage: Work with 16GB+ RAM and fast SSDs for best speed.
- Mac vs Windows: Both have strong options. Test software performance on your OS.
- Mobile and tablet: Some apps offer mobile versions for quick edits on the go.
When choosing what editing software is best for wildlife photos, factor in how many images you edit per trip. If you edit hundreds, invest in speed and a solid subscription. If you edit a few, a one-time purchase may fit best.

Best picks by scenario
Match the tool to the job.
- Long shoots and batch work: Lightroom Classic is ideal.
- Fine detail and composites: Photoshop is the top pick.
- Low-light and noisy files: DxO PhotoLab excels.
- Color-critical work and tethering: Capture One performs well.
- Fast creative edits: Luminar Neo or ON1 can be fast and fun.
- Tight budget or single purchase: Affinity Photo or GIMP works.
Think about how you work in the field. That will point to what editing software is best for wildlife photos for your needs.
Frequently Asked Questions of what editing software is best for wildlife photos
Which software do pros use for wildlife photos?
Many pros use a Lightroom and Photoshop workflow. Others prefer Capture One for color and DxO for denoise. Choice depends on speed and final use.
Can I edit wildlife photos well on a budget?
Yes. Affinity Photo and GIMP can handle most edits. Pair them with careful RAW processing and a good denoise plugin.
Is AI editing safe for wildlife photos?
AI can help with masking and denoise. Use it as a tool, not a crutch. Always check details and keep edits natural.
Do I need Photoshop to get great wildlife images?
Not always. Lightroom, Capture One, or DxO can produce excellent results. Photoshop is helpful for complex retouches and composites.
How important is noise reduction for wildlife photos?
Very important. Wildlife often needs high ISO. Good denoise keeps texture while reducing grain. That saves detail in fur and feathers.
Conclusion
Choosing what editing software is best for wildlife photos comes down to your workflow, budget, and goals. Test trials. Compare results on your RAW files. Use fast cataloging for large shoots. Use pixel tools for final detail. My top practical tip is to pair a strong RAW editor with targeted pixel edits. That combo gives the best speed and quality.
Try one workflow for a week. See what saves time and improves your images. If this guide helped, leave a comment or subscribe for more tips on wildlife editing and workflow.